Product Photography & Video: Master Visual Storytelling for E-commerce Conversion - 2026 Guide
Turn this article into takeaways for your work.
Each assistant summarizes the article only for you and suggests best practices for your work.
Your product photos are your digital storefront. When customers can't touch, feel, or try on your products in person, your visual content does the heavy lifting. The data is clear: high-quality product photography and video drive 40-60% conversion lifts, while poor visuals increase return rates by 30-40%.
This isn't about having the most expensive camera or hiring celebrity photographers. It's about understanding which visual elements drive purchase decisions, how to produce them efficiently, and when to invest in technologies like 360-degree viewers or AR try-on experiences.
Whether you're shooting your first product photos in a garage or managing a professional studio, this guide shows you how to create visual content that converts browsers into buyers.
Why Visual Content Matters More Than Ever
Product images and videos aren't just supporting content anymore - they're the primary decision driver for most online purchases. When shoppers can't physically interact with products, visual content bridges the confidence gap. The conversion impact is measurable. Stores with professional product photography see 40-60% higher conversion rates than those with amateur photos. Adding product videos increases conversions by an additional 80-144% depending on product category. This makes visual content one of the highest-impact elements in your conversion rate optimization strategy.
But it goes beyond conversions. Quality visuals directly impact return rates. When customers know exactly what they're getting because photos accurately represented the product, return rates drop by 30-40%. That's a massive impact on unit economics.
Visual content also affects average order value. Customers who watch product videos spend 174% more than those who don't. They're more confident in their purchase, so they're willing to buy more expensive items or add complementary products.
The customer feedback is consistent: 75% of online shoppers rely on product photos when deciding on a purchase, and 50% say online images are more important than product information, descriptions, and ratings.
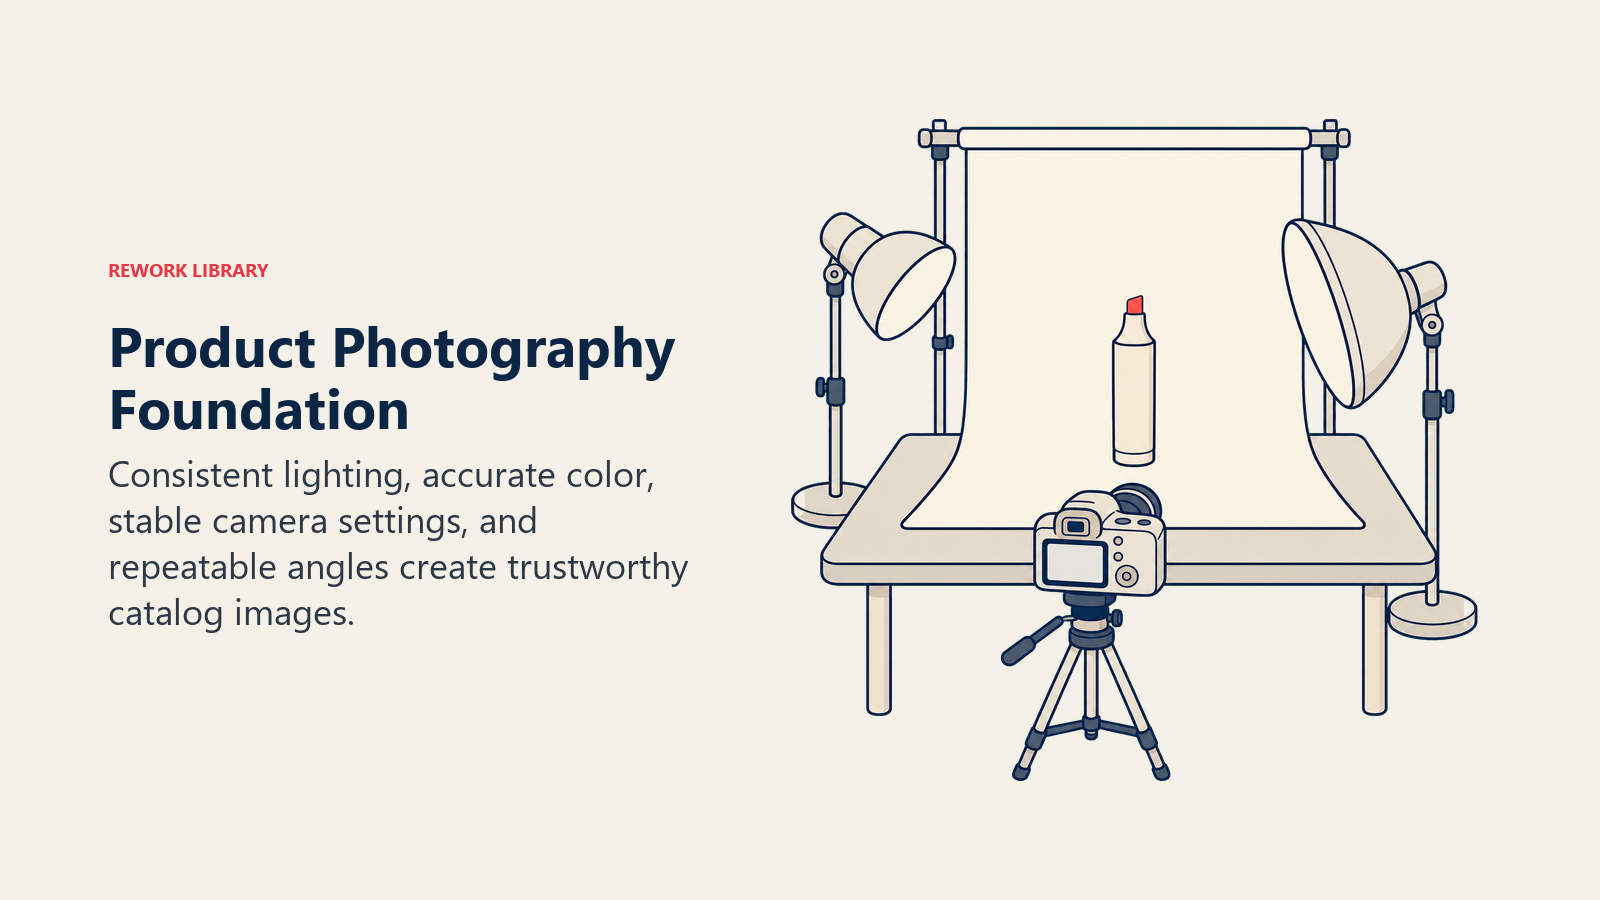
Product Photography Foundation
Professional e-commerce photography starts with consistency. Your customers need to instantly understand product details, scale, and quality without guessing what they're looking at. Studio Setup Requirements You don't need a professional studio to start, but you do need controlled lighting. Natural light from windows creates inconsistent colors and shadows that change throughout the day. A basic studio setup costs $300-800 and includes:
Two to three continuous LED lights (5000K-5500K color temperature) eliminate shadows and ensure color accuracy. A white or light gray backdrop (seamless paper or fabric) creates clean, professional backgrounds that won't distract from your products. A photography table or sweep creates the seamless background curve that makes products appear to float.
For apparel, add a mannequin or ghost mannequin system. For small products, invest in a light box or light tent that creates even illumination from all sides.
Camera Equipment and Settings
You don't need a $3,000 camera. A modern mirrorless camera ($600-1,200) or even a recent iPhone (12 or newer) can produce excellent e-commerce photos with proper lighting and technique.
If you're using a DSLR or mirrorless camera, shoot in manual mode with these settings as a starting point: ISO 100-400 (lower is better for image quality), aperture f/8-f/11 (keeps entire product in focus), shutter speed 1/125s or faster (prevents blur), and shoot in RAW format for maximum editing flexibility.
Always use a tripod. Even tiny camera movements blur product details, and consistency between shots is impossible when handholding.
White Background vs Contextual Backgrounds
White backgrounds are the e-commerce standard for good reason. They eliminate distractions, ensure product colors appear accurate, make image editing and background removal easier, and work consistently across all marketing channels.
But contextual backgrounds serve different purposes. Use them to show scale and size relationships, demonstrate products in use, create emotional connections with aspirational settings, and help customers visualize products in their life.
The winning strategy uses both: white background for primary product images, and lifestyle contextual images as secondary shots. Most successful product pages show 5-7 white background photos followed by 2-3 lifestyle images.
Multiple Angle Requirements
Your customers can't pick up and examine products, so you need to show everything they'd want to see in person. The minimum standard is:
Front view (primary image showing product clearly), back view (shows details not visible from front), both side views (reveal depth and 3D form), top-down view (shows layout and organization), detail shots of key features (2-4 closeups), and size/scale comparison (product next to common object or on person).
For apparel, add flat lay and styled on body or mannequin. For electronics, show all ports, buttons, and connection points. For furniture, include measurements and room context.
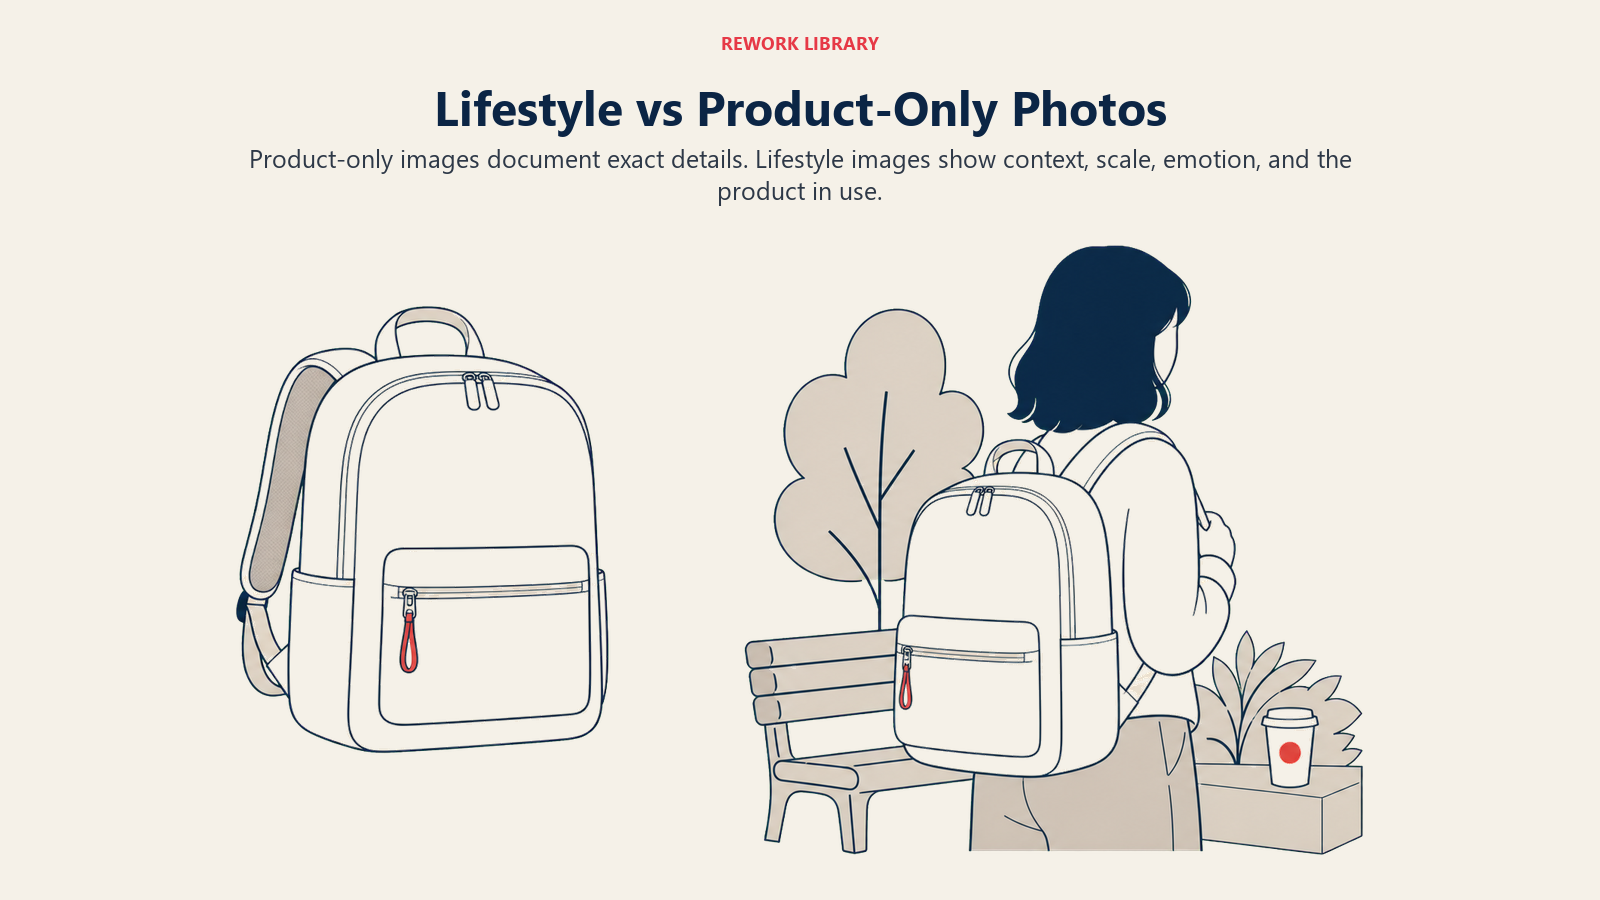
Lifestyle vs Product-Only Photography
Strategic use of both photography styles creates a complete picture that drives conversions. Each serves a different purpose in the customer decision journey. Product-Only Photography Strategy Clean, white-background product shots are your documentation images. They answer the question: "What exactly am I buying?"
These images need surgical precision. Every detail must be visible and accurate. This is where customers zoom in to examine stitching, read button labels, or verify color accuracy. Any confusion here kills conversions.
Use product-only photos for: primary product images that appear in search results and category pages, detailed specification documentation, quality verification shots, and comparison between product variations (colors, sizes, versions). These images form the foundation of your product page optimization efforts.
Lifestyle Photography Strategy
Lifestyle images sell the experience and transformation. They answer: "How will this product fit into my life?"
These photos create emotional connections. A coffee maker sitting on a white background shows the product. That same coffee maker on a sunny kitchen counter with steam rising from a cup, morning newspaper nearby, and soft natural light tells a story about peaceful morning routines.
Use lifestyle photos for: demonstrating products in realistic use contexts, showing scale and size relationships, creating aspirational emotional connections, illustrating multiple use cases, and helping customers visualize ownership.
Hierarchy and Placement Strategy
Order matters. Your first 3-4 images should be white background shots showing the product clearly from multiple angles. Once customers understand exactly what the product is, introduce lifestyle images that help them imagine using it.
This sequence matches the customer decision process: first they need clarity and confidence about the product itself, then they need emotional connection to imagine ownership.
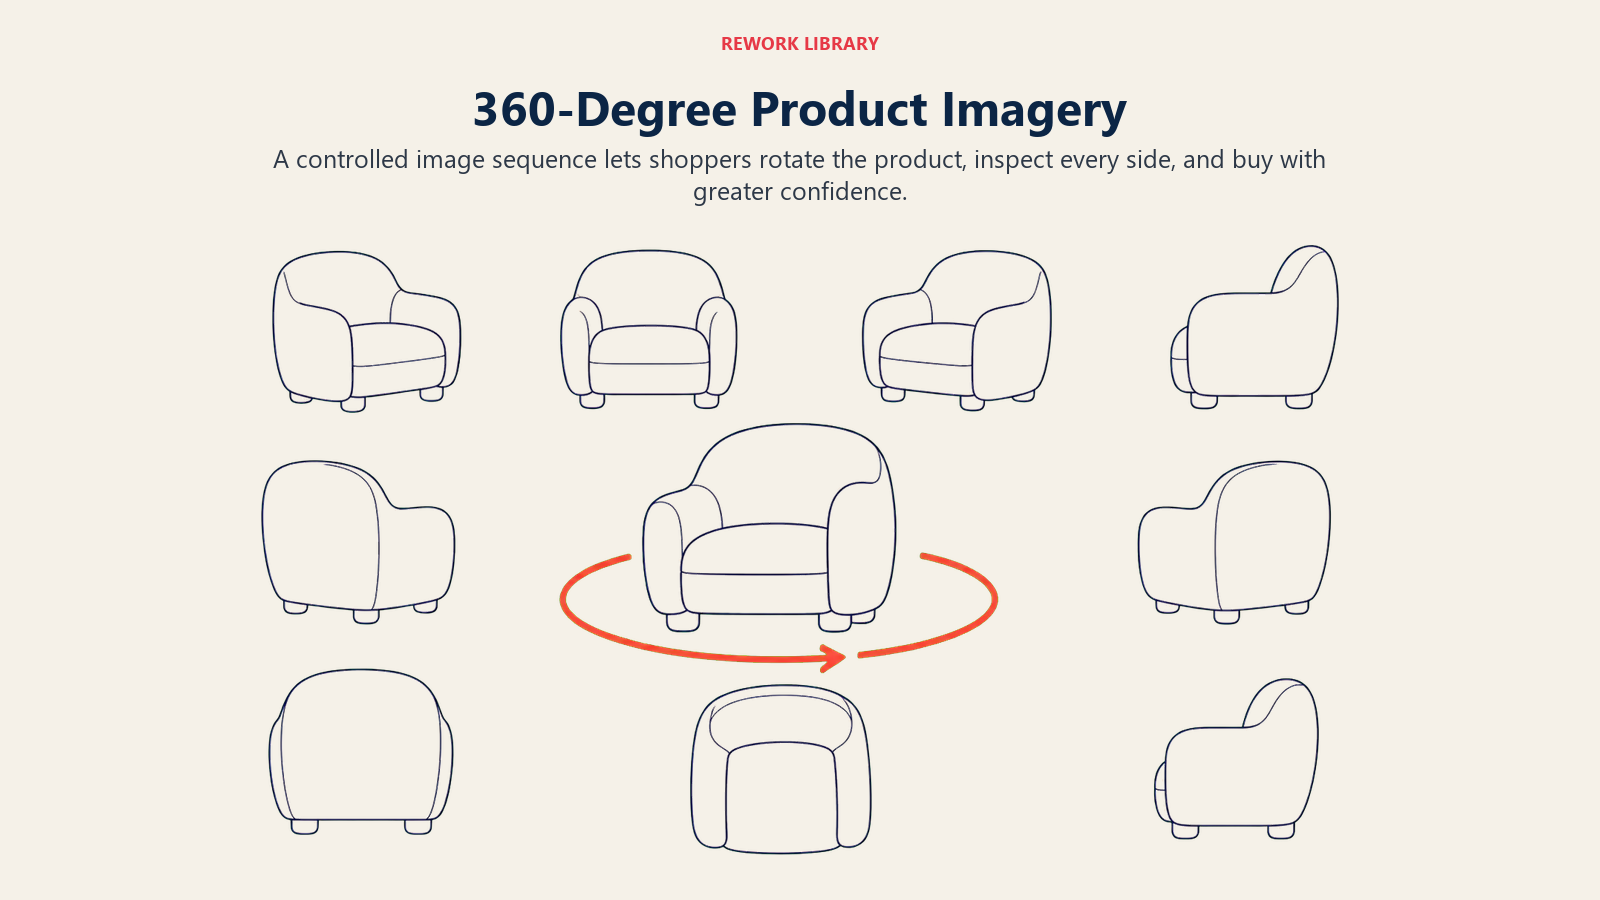
360-Degree and Interactive Imagery
Interactive visual experiences bridge the gap between online shopping and in-store browsing. When done well, they increase conversion rates by 27-40% and reduce returns by showing products from every possible angle. 360-Degree Product Viewers A 360-degree viewer lets customers rotate products with their mouse or finger, examining them from all sides as if holding them in their hands. This creates confidence and reduces purchase anxiety.
The conversion impact is significant. Shoppers who interact with 360-degree viewers are 27% more likely to complete purchases than those who view static images only. For products where texture, finish, or construction details matter (furniture, luggage, shoes, jewelry), the impact can reach 40%+.
Implementation Requirements
Creating 360-degree imagery requires shooting 24-36 images of your product, each rotated a few degrees on a turntable. You can do this manually with a turntable and camera, or invest in automated systems ($2,000-10,000) that handle rotation and capture automatically.
File sizes matter. Thirty-six high-resolution images can total 50-100MB uncompressed. Modern 360 viewers use image compression, lazy loading, and progressive enhancement to keep page speeds fast while delivering smooth rotation.
Mobile Responsiveness
Over 70% of e-commerce traffic comes from mobile devices, so your 360 viewers must work perfectly on phones and tablets. Touch gestures should feel natural, swipe to rotate, pinch to zoom. The experience should be smooth even on slower connections. Ensuring your visual content performs flawlessly on mobile is a critical component of mobile commerce optimization.
Test on actual devices, not just desktop browsers. What works perfectly on a laptop can feel clunky on a phone if touch interactions aren't optimized.
ROI Considerations
Creating 360-degree imagery for every product isn't realistic or necessary. Focus on products where it matters most:
High-consideration purchases over $100 where customers spend more time evaluating before buying. Products where construction, finish, or detail quality is a key differentiator. Items with complex shapes or features not easily shown in static photos. Categories with high return rates due to unclear product understanding.
For a store with 100 SKUs, creating 360 views for your top 20-30 converting products probably delivers 80% of the benefit at 20-30% of the cost.
Video Content Strategy
Product videos are conversion accelerators. They communicate in 30 seconds what would take 20 product photos to show. Customers who watch product videos are 85% more likely to buy than those who don't. Product Demonstration Videos The most effective e-commerce videos are short demonstrations showing products in action. Keep them 30-90 seconds. After that, engagement drops dramatically.
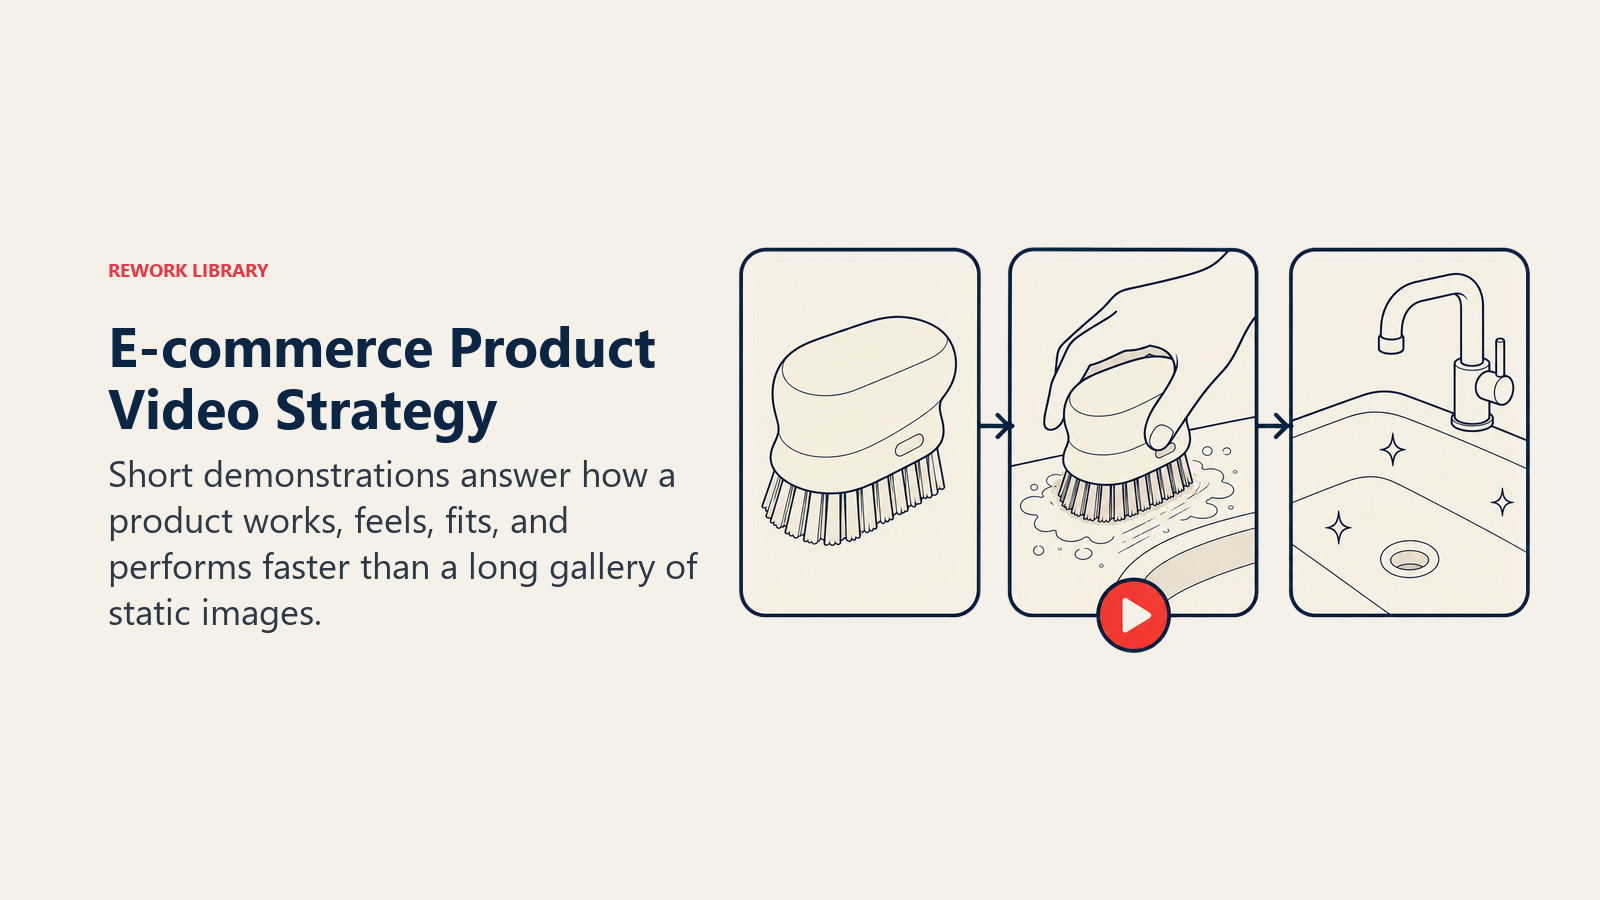
Show what customers care about most: How does it work? How big is it really? What does it look like in use? What comes in the box? How does it feel to use?
For a kitchen appliance, show someone using it to make something, emphasizing how easy and fast it is. For apparel, show how the fabric moves, how it fits different body types, and how to style it. For electronics, show the interface, key features, and what makes it different from competitors. These video demonstrations work particularly well in Facebook and Instagram ads and TikTok commerce campaigns.
Unboxing and First-Impression Videos
Unboxing videos tap into purchase excitement. They're especially effective for premium products where packaging and presentation matter.
These videos work because they simulate the buying experience. Watching someone else experience the product for the first time creates anticipation and excitement. If your packaging is impressive, unboxing videos turn that into a conversion driver.
Keep unboxing videos tight: 45-90 seconds showing the unboxing process, highlighting what's included, and showing first impressions of build quality or features.
How-To and Usage Videos
For products that require assembly, setup, or learning, how-to videos reduce purchase anxiety and support ticket volume simultaneously.
Customers worried about whether they can use your product successfully are less likely to buy. A clear 60-second video showing simple setup or use removes that barrier. IKEA does this brilliantly with their assembly videos, customers feel confident they can handle it.
Video Production Quality Standards
You don't need Hollywood production values, but you do need professional-looking content. The quality threshold is "would I trust this brand based on this video?"
Essential production standards:
Stable footage (use a tripod or gimbal, no shaky handheld shots), clean audio (poor audio is worse than no audio, use a decent microphone), good lighting (same principles as photography, consistent, even lighting), simple editing (basic cuts and text overlays, nothing fancy needed), and clear focus on the product (background should be clean and not distracting).
Most successful e-commerce videos are shot on iPhones or entry-level cameras with good lighting. The $800 spent on lights matters more than the $2,000 spent on a fancy camera.
Technical Photography Standards
Consistency separates professional e-commerce operations from amateur setups. Your product photos need to look like they belong together, regardless of when they were shot or who shot them.
Resolution and File Format Requirements
Shoot at the highest resolution your camera offers, then export optimized versions for web. Your master files should be 3000-5000 pixels on the longest side, saved as TIFF or high-quality JPG for archival purposes.
For web delivery, create multiple sizes: thumbnail (300-400px), category page (600-800px), and product page main image (1500-2000px). Modern e-commerce platforms handle this automatically, but understanding the requirements ensures you're providing suitable source files.
Color Accuracy and Consistency
Nothing destroys trust faster than products that look different in person than in photos. Color accuracy starts with proper lighting and white balance.
Use a color calibration card when setting up your shots. Take a photo of the card first, then use it to set accurate white balance in post-processing. This ensures your whites are actually white, and all other colors render accurately relative to that baseline.
Maintain consistent color temperature (5000K-5500K) across all lighting. Mixed color temperatures create color casts that are difficult to correct in editing and make products look inconsistent.
Image Compression and Optimization
Large image files slow down page load speed, which kills conversions. Every 1-second delay in page load time decreases conversions by 7-10%.
Use modern image formats: WebP reduces file sizes 25-35% compared to JPG with no visible quality loss. AVIF is even better (40-50% smaller files) but has limited browser support as of 2026.
Implement lazy loading so images only load when customers scroll to them. This dramatically improves initial page load speed for pages with many product images.
SEO Optimization and Metadata
Search engines can't see your images, but they can read metadata. Optimize every product image with descriptive filenames (blue-wireless-headphones.jpg instead of IMG_1234.jpg), alt text describing what's in the image, title tags for additional context, and structured data markup for rich results in Google Shopping campaigns.
Photography for Different Product Types
Different products need different visual approaches. What works for apparel won't work for electronics, and furniture needs different treatment than food products. Apparel and Fashion
Clothing photography requires showing fit, fabric quality, and styling options. The biggest challenges are representing colors accurately and showing how garments fit and drape on real bodies.
Essential apparel shots: flat lay on white background, styled on body or mannequin (front and back views), detail shots of fabric texture and construction, and lifestyle images showing how to style the piece. Pairing these professional images with compelling product descriptions creates a complete buying experience.
For color accuracy, shoot a color reference card in the same lighting as your garments. For fit representation, use diverse body types if possible, showing how a shirt fits on only one body type creates uncertainty for other customers.
Electronics and Tech Products
Electronics photography focuses on build quality, size perception, and feature accessibility. Customers want to see screen quality, port locations, button layouts, and size relative to familiar objects.
Critical angles for electronics: front view showing screen or primary interface, back view revealing ports and connections, side profiles showing thickness and depth, and closeups of controls, buttons, and build quality details.
Always include a size comparison, place a credit card, phone, or pen next to the product so customers can visualize actual size.
Home Goods and Furniture
Furniture and home goods need context to sell. A chair on a white background tells customers very little. That same chair in a room setting shows scale, style compatibility, and how it might look in their home.
Essential home goods shots: white background product shot, room context showing scale and style, detail shots of materials and construction, and dimensions overlay showing measurements.
For furniture, AR visualization is becoming standard. Apps that let customers see furniture in their actual space using their phone camera increase confidence and reduce returns by 25-40%.
Food and Beverage
Food photography is about appetite appeal. Colors need to be vibrant, textures need to look appealing, and everything needs to look fresh and delicious.
Natural lighting works best for food, it looks more appetizing than artificial studio lighting. Shoot during daylight hours near a window for best results.
Include packaging shots for packaged food products, styled serving suggestions, and closeups showing texture and quality.
Accessories and Small Items
Small products need macro photography to show detail. A ring or watch shot from 10 feet away shows customers nothing about quality or craftsmanship.
Use macro lenses or macro mode to capture fine details. Show scale by including hands or common objects in frame. Multiple extreme closeups help customers evaluate quality even though they can't hold the item.
Video Production Fundamentals
Creating effective product videos doesn't require a film degree, but it does require planning and basic production knowledge.
Scripting and Storyboarding
Before you shoot anything, plan what you're going to show. Write a simple shot list: Opening shot establishing the product, 3-4 key feature demonstrations, usage context, and closing shot with call-to-action.
A 60-second video needs about 6-10 shots, each 5-10 seconds long. Plan each shot: what you're showing, what you're saying (if using voiceover), and why it matters to customers.
Equipment Requirements
You need surprisingly little equipment to create effective product videos:
Camera (iPhone 12+ or entry DSLR/mirrorless), tripod or gimbal for stable footage, basic lighting setup (same as photography), and decent microphone if using voiceover.
The total cost for acceptable equipment: $400-1,200. Professional equipment is better, but not necessary to start.
Location and Setup
Choose locations that reinforce your brand and show products in realistic contexts. A coffee maker belongs in a kitchen, fitness equipment in a home gym or outdoors, beauty products in a well-lit bathroom or vanity.
Control your lighting just like photography. Consistent, even lighting makes videos look professional. Window light works well for lifestyle content, but you'll need additional lights for close-up product shots.
Professional vs DIY Production
When should you hire professionals versus creating videos in-house?
DIY works for: simple product demonstrations, unboxing videos, basic how-to content, and social media content where authentic, less-polished videos often perform better.
Hire professionals for: brand videos representing your company overall, complex products requiring technical expertise, high-production lifestyle content, and videos you'll use for paid advertising where production quality impacts performance.
Many successful e-commerce brands do a hybrid approach: hire professionals for cornerstone brand and product videos, then create ongoing demonstration and social content in-house.
Post-Production Essentials
Basic video editing makes your content look professional. You don't need fancy effects, just clean cuts, simple text overlays, and background music.
Essential editing elements: remove mistakes and dead space, add text overlays highlighting key features, include subtle background music (properly licensed), add captions for sound-off viewing, and export in multiple formats for different platforms.
Free tools like DaVinci Resolve or iMovie can handle everything you need. Most e-commerce video editing is surprisingly simple once you understand basic cutting and sequencing.
3D Product Visualization and AR
Emerging technologies like 3D visualization and augmented reality are moving from novelty to expectation, especially for furniture, home goods, and apparel. 3D Model Creation
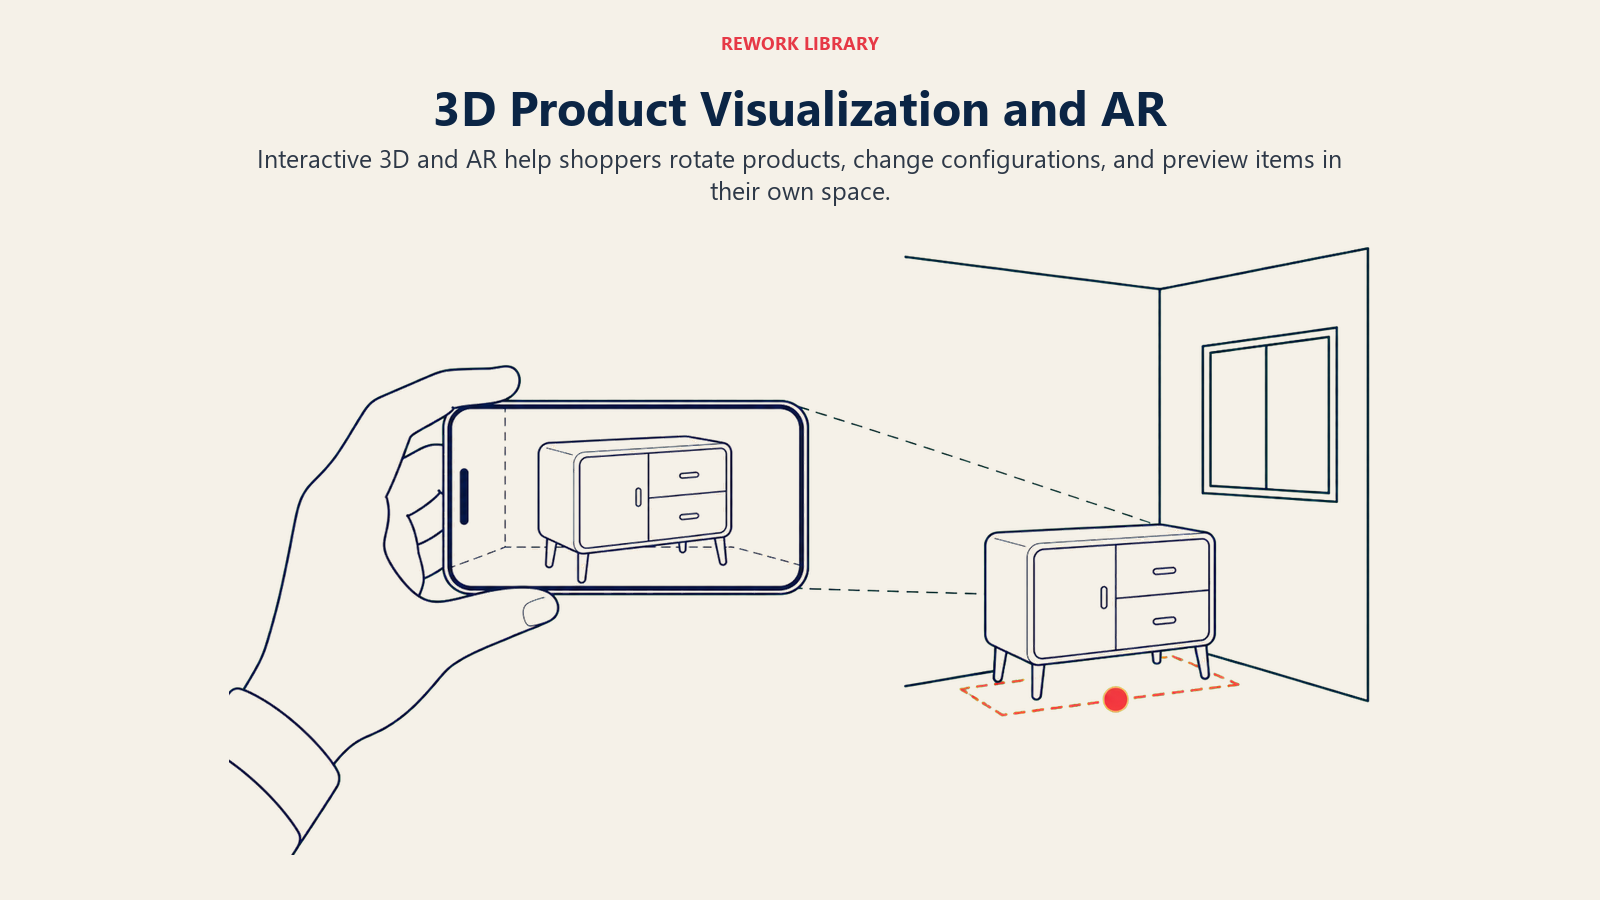
3D product models allow customers to view products from any angle, zoom infinitely, and in some cases, change colors or configurations in real-time.
Creating 3D models requires photogrammetry (taking hundreds of photos from all angles) or 3D modeling software. Services like Threekit, VNTANA, or CGTrader can create 3D models from photos for $100-500 per product.
Augmented Reality Try-On
AR lets customers see products in their space before buying. Point your phone at your living room, and a chair appears in real-time at actual size. This technology reduces return rates dramatically for furniture and home goods.
Major platforms now support AR: Shopify has AR Quick Look built in, Amazon has View in Your Room, and IKEA's Place app pioneered the category.
Creating AR experiences requires 3D models in USDZ (iOS) or GLB (Android) format. Once created, integration into your product pages is straightforward with modern e-commerce platforms.
ROI and Implementation Costs
AR isn't cheap to implement across a large catalog. Creating 3D models costs $100-1,000 per product depending on complexity. Platform integration adds another $5,000-20,000 for custom implementations.
Focus AR on products where it delivers maximum impact: furniture and home goods where room fit is critical, high-return categories where better visualization prevents mistakes, and high-value products where the investment is justified by increased conversion rates.
If you sell furniture with $500+ average order values and 20% return rates, implementing AR for your top 50 products could reduce returns by 25-40%, easily justifying the $10,000-15,000 investment.
User-Generated Content Integration
Your customers create product photos and videos every day when they receive and use your products. This authentic content is incredibly valuable, and it's free. Incentivizing Customer Content Most customers are happy to share photos if you ask and make it easy. Create incentives: discounts on future purchases, entry into monthly giveaways, featuring their content on your social channels, or loyalty program points. Learn more about building a comprehensive customer reviews and UGC program that encourages ongoing content creation.

Make submission simple. Email customers 7-14 days after delivery with a direct link to upload photos. Include clear instructions and examples of what you're looking for.
Rights and Permissions
Always get explicit permission before using customer content. Your submission form should include clear terms: you have rights to use photos in marketing, content may be shared on your website and social channels, and customers are credited when possible.
Don't assume you can use any photo tagged with your brand. Reach out and ask permission. Most customers say yes, and this protects you legally.
Moderation and Quality Control
Not every customer photo is suitable for your product pages. Establish quality standards: well-lit and in-focus images, products shown clearly and accurately, appropriate context and setting, and no competitor products visible.
Review submissions before publishing. Low-quality UGC hurts more than it helps. The bar isn't professional photography, authenticity is valuable, but blurry, dark photos don't build confidence.
Integration Strategy
Position UGC after professional photos on product pages. The sequence should be: 4-6 professional photos showing product details, 2-3 lifestyle photos, then a UGC gallery with real customer photos.
This progression builds confidence: professional photos establish quality and features, your lifestyle photos show aspirational use, and customer photos provide authentic social proof.
Conversion Impact
The data is clear: product pages with UGC convert 29% better than those without. Customers trust authentic photos from real buyers more than professional marketing shots. This authentic content serves as powerful trust signals and social proof that professional photos alone can't provide.
UGC is especially effective for: apparel (showing fit on different body types), beauty products (showing results), home goods (showing products in real homes), and any product where results or usage varies.
Optimization and Performance
Beautiful photos and videos don't matter if they slow your site down so much that customers leave before seeing them. Performance optimization is as important as content quality. Image Optimization for Page Speed Every product page should load in under 2 seconds on mobile. Images are usually the biggest performance bottleneck.
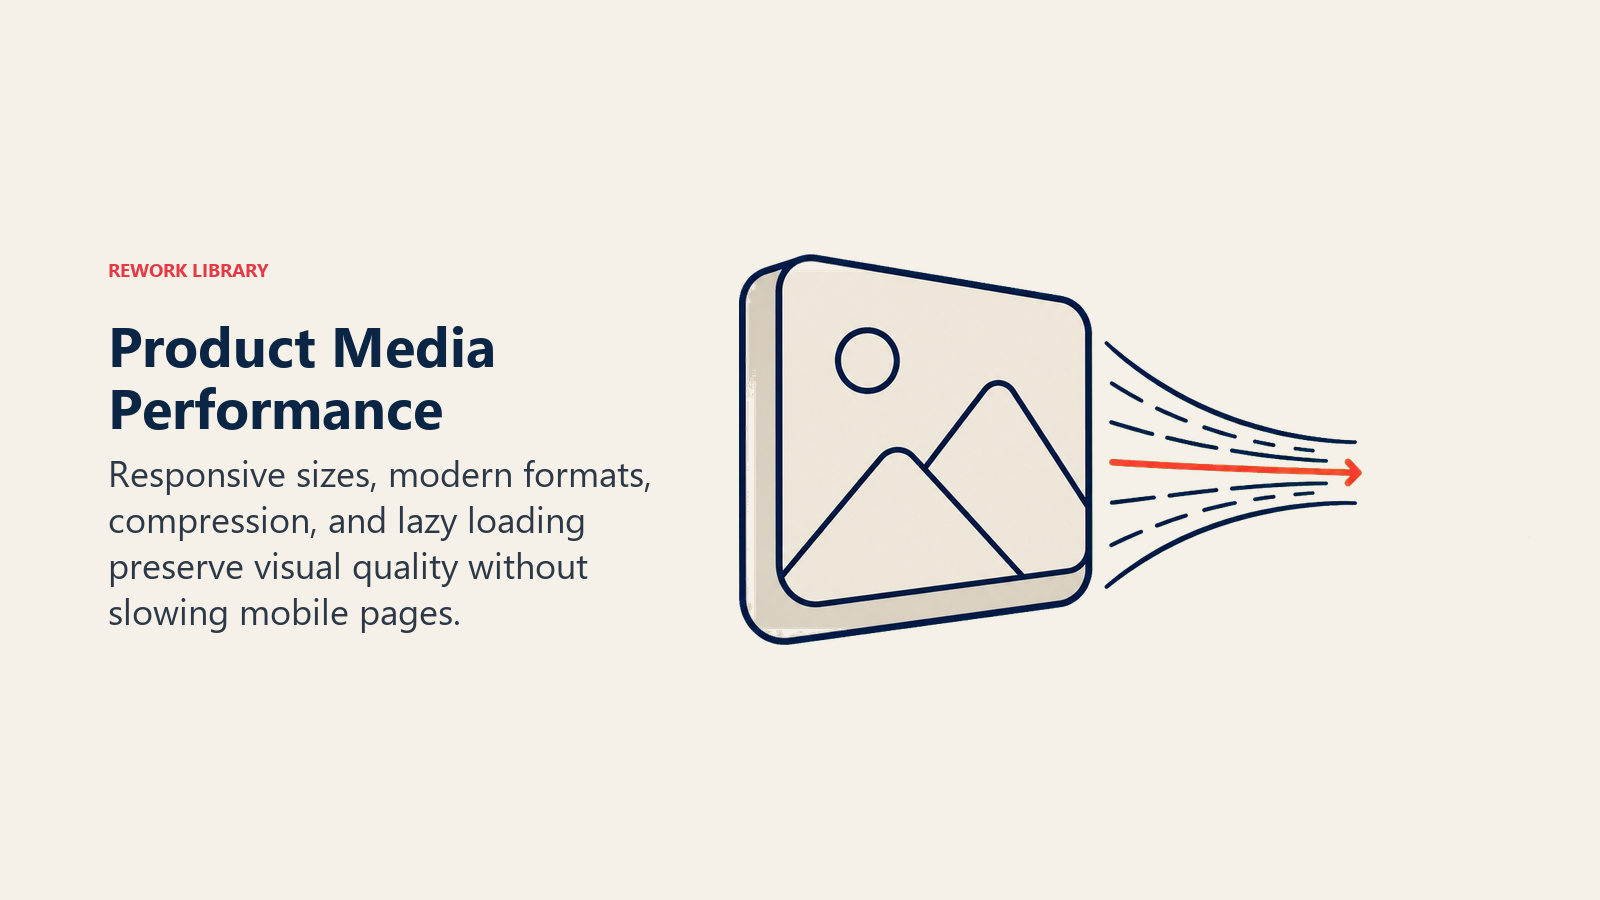
Optimization strategies: use next-gen formats like WebP or AVIF, compress images without visible quality loss, implement lazy loading for below-the-fold images, size images appropriately for their display size, and use responsive images that serve smaller files to mobile devices.
Tools like ImageOptim, Squoosh, or ShortPixel can reduce image file sizes by 60-80% with no visible quality loss.
CDN Utilization
Content Delivery Networks (CDNs) store copies of your images on servers around the world. When a customer in Australia visits your site, images load from a server in Sydney rather than your origin server in Ohio.
This reduces load times by 40-60% for international customers. Major CDNs like Cloudflare, Amazon CloudFront, or Fastly cost $20-100/month for most e-commerce stores.
Video Hosting and Streaming
Never host videos directly on your e-commerce server. Video files are huge, and streaming them efficiently requires specialized infrastructure.
Use dedicated video platforms: YouTube (free but with ads and branding), Vimeo (professional, ad-free, $7-$75/month), Wistia (e-commerce focused, $24-300/month), or Cloudflare Stream (pay-per-use, cost-effective for high traffic).
These platforms handle adaptive streaming (adjusting quality based on connection speed), device optimization, and fast global delivery automatically.
Core Web Vitals Impact
Google uses Core Web Vitals (loading speed, interactivity, visual stability) as ranking factors. Poor scores hurt your SEO, which means fewer customers find you.
Images and videos impact all three metrics: large images slow Largest Contentful Paint, heavy JavaScript delays First Input Delay, and images loading late cause Cumulative Layout Shift.
Test your product pages with Google's PageSpeed Insights. Fix issues it identifies, prioritizing those labeled "Opportunities" first.
Measurement and Iteration
Creating great visual content is an ongoing process. You need to measure what's working, test variations, and continuously improve based on data.
Tracking Content Performance
Use heatmaps and scroll tracking to see which images customers engage with most. Tools like Hotjar, Microsoft Clarity, or Lucky Orange show exactly where customers click, how far they scroll, and where they lose interest.
Track video engagement: what percentage watch to completion, where do they drop off, do viewers convert at higher rates?
Analyze product page performance by visual content quality. Do products with 360-degree viewers convert better? What about pages with videos versus those without?
A/B Testing Visual Variations
Test systematically: white background versus lifestyle images as primary photo, 5 images versus 10 images per product, video above versus below image gallery, and 360 viewers versus static multi-angle shots. Follow a structured A/B testing framework to ensure valid results.
Run tests for at least 7-14 days to account for daily and weekly traffic patterns. You need statistical significance before making decisions, usually 200-300 conversions per variation minimum.
Return Rate Correlation
Track return rates by product and correlate with visual content quality. Products with more detailed photos typically have lower return rates.
If a product category has high returns, audit the visual content. Are customers receiving something different than what photos showed? Are key details missing from photos?
Customer Feedback
Ask customers directly in post-purchase surveys: "Were product photos accurate and helpful?" and "What additional photos would have been useful?"
Review return reasons. If "not as expected" or "looked different than photos" appear frequently, you have a visual content problem.
Continuous Improvement Process
Set a quarterly schedule to review and update visual content:
Identify worst-performing products (low conversion, high returns), audit their visual content against best practices, reshoot or enhance images as needed, and measure performance improvements after updates.
Allocate 10-15% of your photography budget to updating and improving existing content rather than only shooting new products.
Practical Implementation
Photography Checklist
Before any shoot:
- Studio lighting tested and color temperature consistent
- Camera settings verified (ISO, aperture, white balance)
- Background prepared and seamless
- Products cleaned and prepped
- Shot list prepared with required angles
- Color reference card on hand
- Tripod secured and height adjusted
- Test shots reviewed for focus and exposure
Video Production Workflow
- Pre-production: script shot list, prepare products and location, test equipment
- Production: shoot all planned content, capture extra B-roll, record clean audio
- Post-production: edit clips, add text/music, export multiple formats
- Distribution: upload to hosting platform, embed on product pages, share on social
ROI Calculation
Calculate the financial impact of improved visual content:
Current conversion rate × Current traffic × Average order value = Baseline revenue
Apply expected improvement (40% conversion lift for professional photography, 85% lift for adding video, 30% reduction in returns)
New conversion rate × Traffic × AOV - Reduced returns = New revenue
Compare revenue improvement to production costs to justify investment.
Product photography and video aren't expenses, they're investments in conversion rate and customer confidence. When customers can see exactly what they're buying from every angle, through professional photos and helpful videos, they buy more often and return products less frequently.
Start with the basics: consistent, well-lit photography showing products clearly from multiple angles. Then layer in video content for your best-selling products. As you grow, experiment with 360-degree viewers, AR experiences, and user-generated content.
The goal isn't perfection, it's clarity and confidence. Give customers the visual information they need to feel certain about their purchase, and conversions will follow.
Related Resources:
- Product Page Optimization - Complete guide to optimizing every element of product pages for maximum conversions
- Conversion Rate Optimization (CRO) - Systematic approach to improving conversion rates across your store
- Mobile Commerce Optimization - Ensure your product photos and videos work perfectly on mobile devices
- Site Speed & Performance - Balance visual quality with fast page load times
- Product Description Writing - Combine compelling product descriptions with visual content
- Trust Signals & Social Proof - Use visual social proof to build customer confidence
- Analytics & Tracking Setup - Measure the impact of visual content improvements
- A/B Testing Framework - Test visual content variations to find what converts best

Senior Operations & Growth Strategist
On this page
- Why Visual Content Matters More Than Ever
- Product Photography Foundation
- Lifestyle vs Product-Only Photography
- 360-Degree and Interactive Imagery
- Video Content Strategy
- Technical Photography Standards
- Photography for Different Product Types
- Video Production Fundamentals
- 3D Product Visualization and AR
- User-Generated Content Integration
- Optimization and Performance
- Measurement and Iteration
- Practical Implementation