Mastering Task Management with PDCA Framework
Video Version: Watch on YouTube
If your team struggles with missed deadlines, scattered communication, or unclear ownership, this webinar is for you.
Discover the key strategies to apply PDCA effectively in Rework Projects. We’ll cover:
- Setting up projects with clarity – How to define objectives and structure tasks efficiently.
- Managing tasks seamlessly – Assign responsibilities, track progress, and ensure accountability.
- Optimizing workflows – Leverage views, custom fields, and automation for smooth execution.
- Enhancing collaboration – Use comments, mentions, and structured communication tools.
Hello everyone, welcome to today's webinar. I'm Kevin Kim, your host today and I would like to introduce myself as an a business operation into rework platform
So about today's topic I will discuss the PDCA framework in the context of task management and we will cover three parts I will share some best practices using rework projects following the PDCA. So please grab a cup of coffee or tea and enjoy my presentation
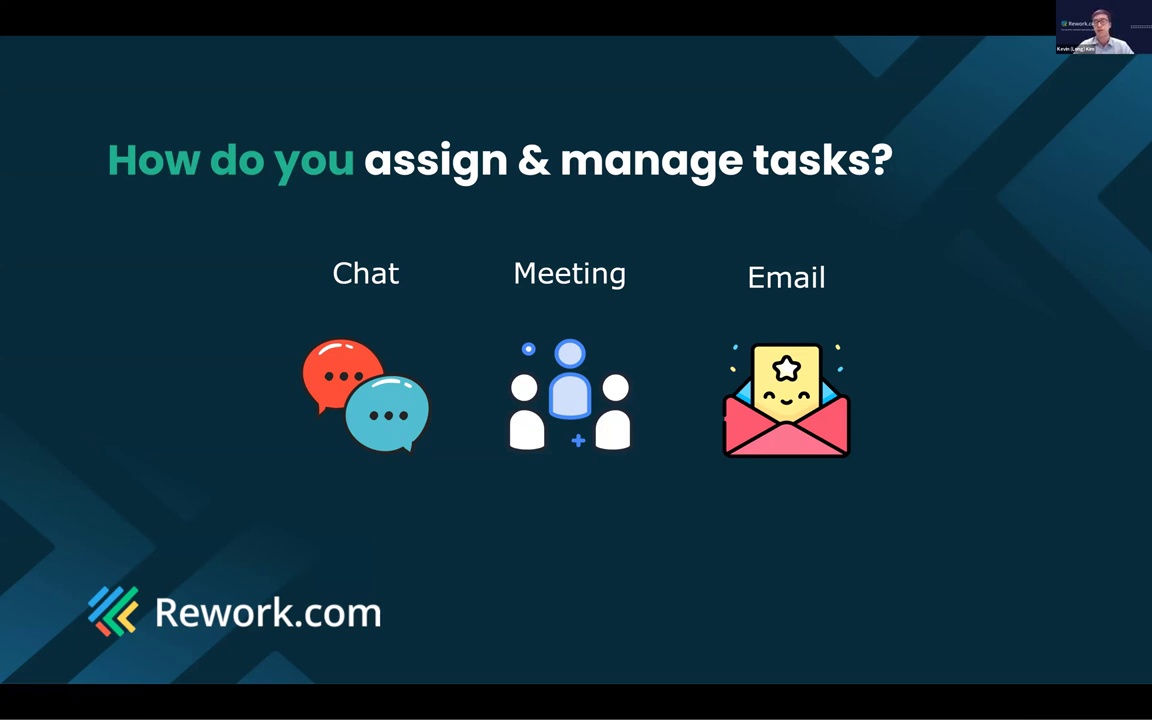
Before we begin, let's start with a poll to understand how you are currently managing your team's task

Let's see the result. Okay. Cool. So we have chat. A lot of members have chose chat. Chat is the most common way that you and your team are assigning and managing the task. And then we see meeting and some other are using task management tools.
So today I will share with you a more systematic way to approach and help you to manage your daily tasks using the PDCA framework.
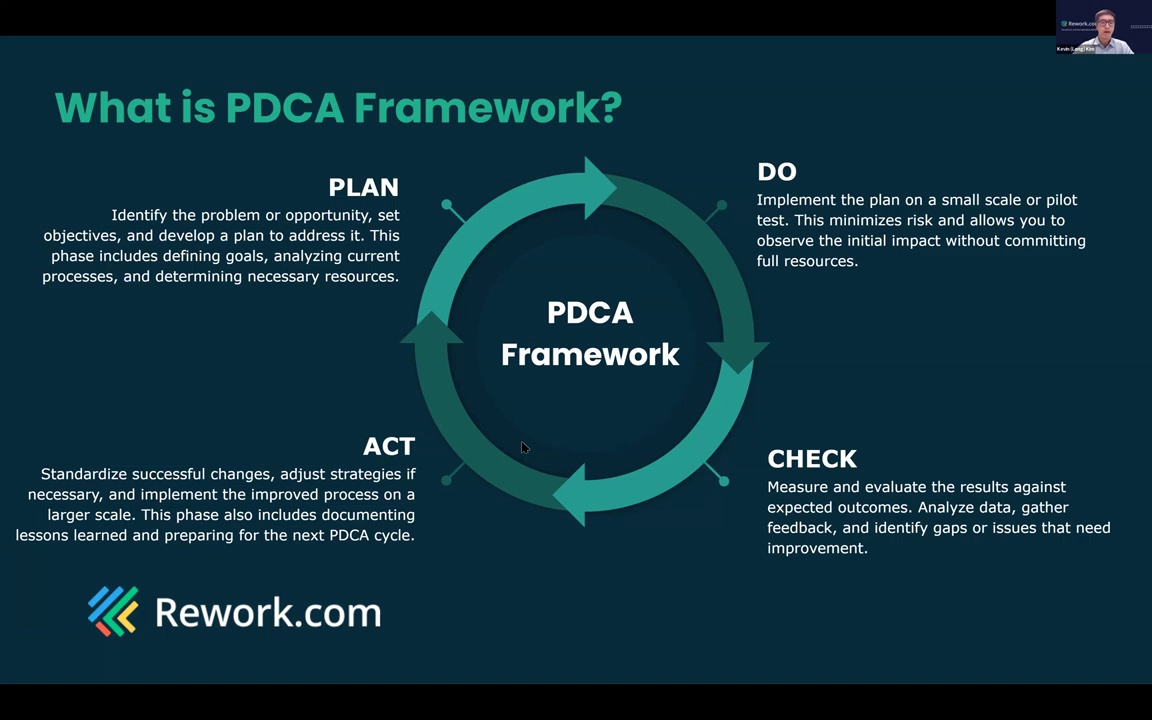
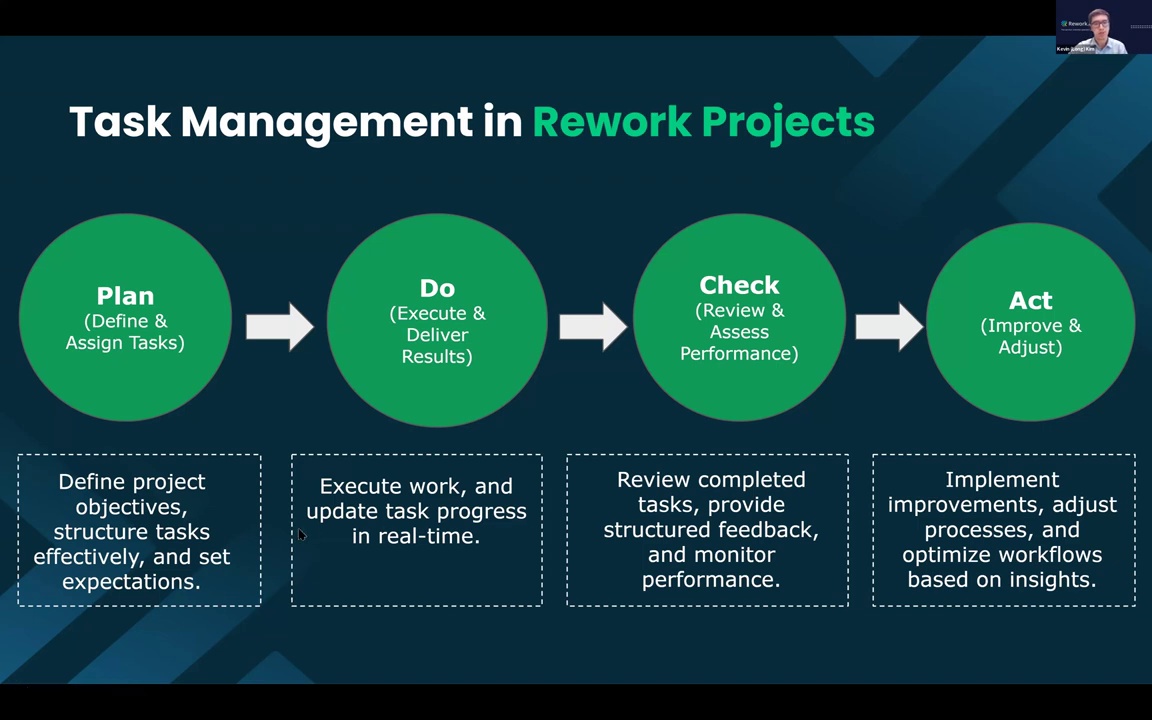
So what is it? The PDCA framework is also known as the Deming Cycle. It is a continuous improvement methodology often used in business or project management. As you can see, there's a circle here, and it often starts from Plan, then moves to Do, Check, and Act.
Each stage in this framework is quite straightforward and self-explanatory. The beauty of this framework lies in its iterative nature, allowing you to adapt and continuously refine what you're doing, from planning to doing, checking, acting, and then back to planning.
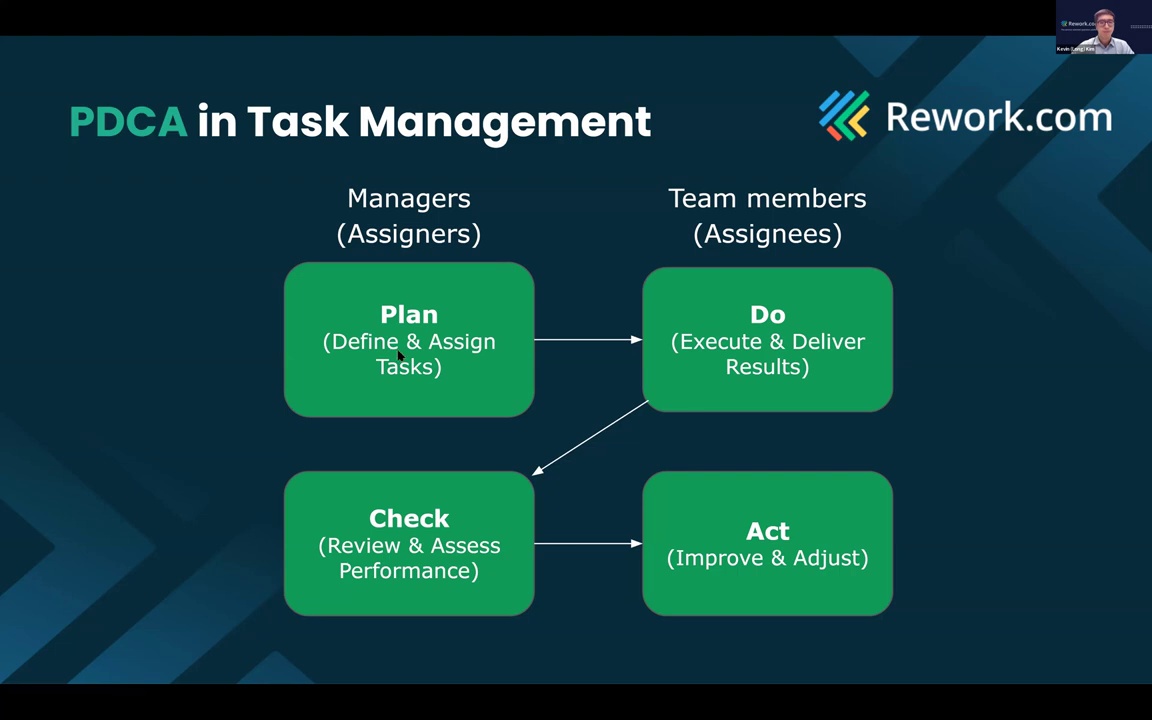
Now that we've covered the basics of PDCA, let's talk about how we can apply this framework to task management.
There are typically two main stakeholders: the managers (assigners) and the team members (assignees). The managers define and assign the tasks. The team executes and delivers results. The managers check the work, and depending on the outcome, the team may need to improve or adjust their execution.
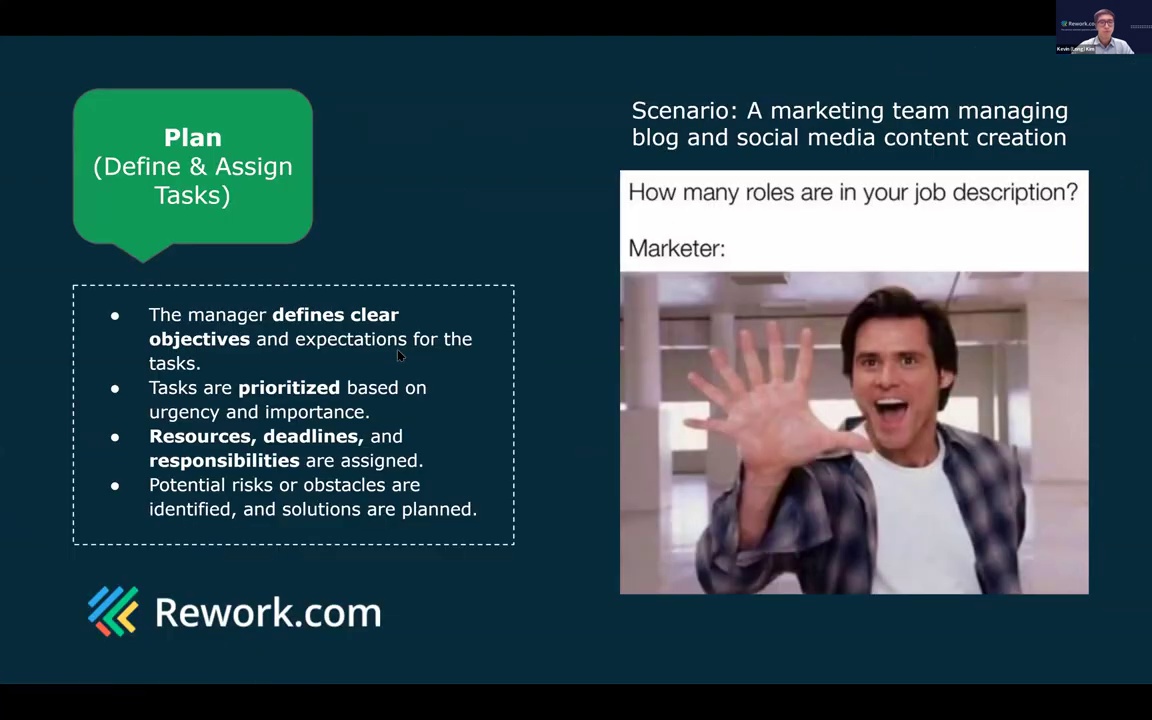
Let's go into more detail, starting with the first stage: Plan.
In this stage, the goal is to make everything as clear as possible, priority, urgency, resources, deadlines, responsibilities, etc.
Here's an example: In a marketing team, a manager asks someone to "prepare content for the upcoming event." The team member assumes they just need to write a post. But the manager actually expected a full agenda, topic list, and social media plan. So you see, clarity at this stage is everything.
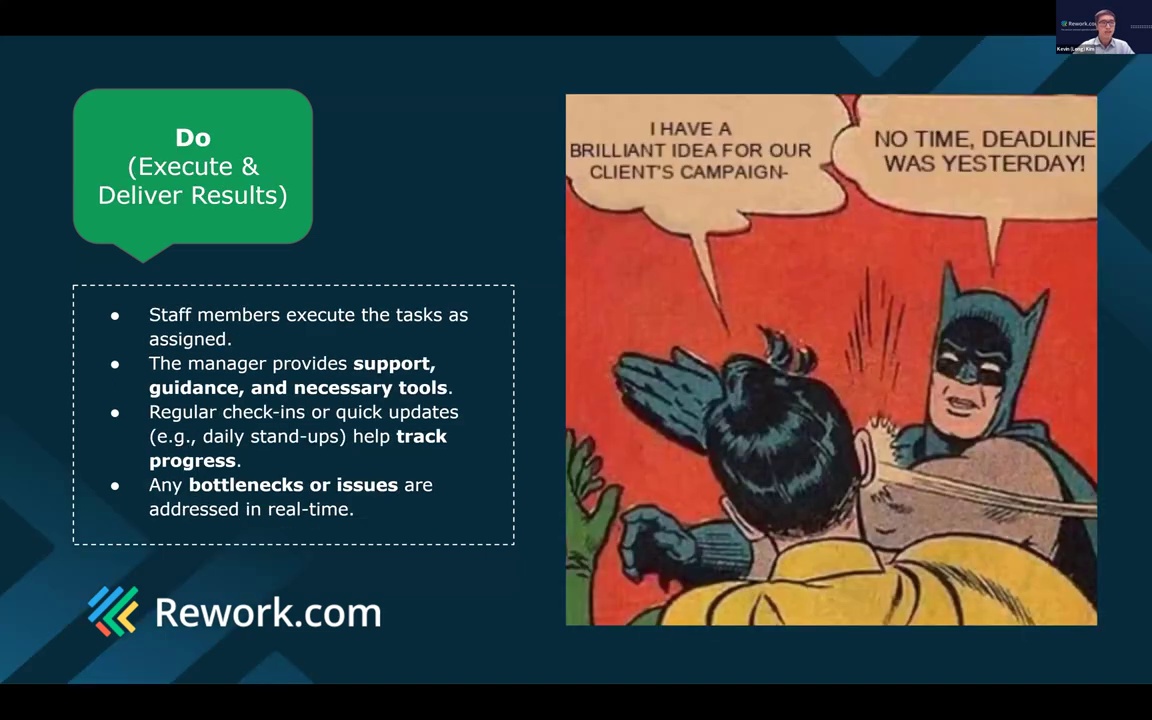
Next is the Do stage.
Here, the manager supports the team in completing the assigned task, while the team focuses on execution. Communication is key. If bottlenecks or issues arise, they should be addressed in real time, or at least as soon as possible, to avoid delays.
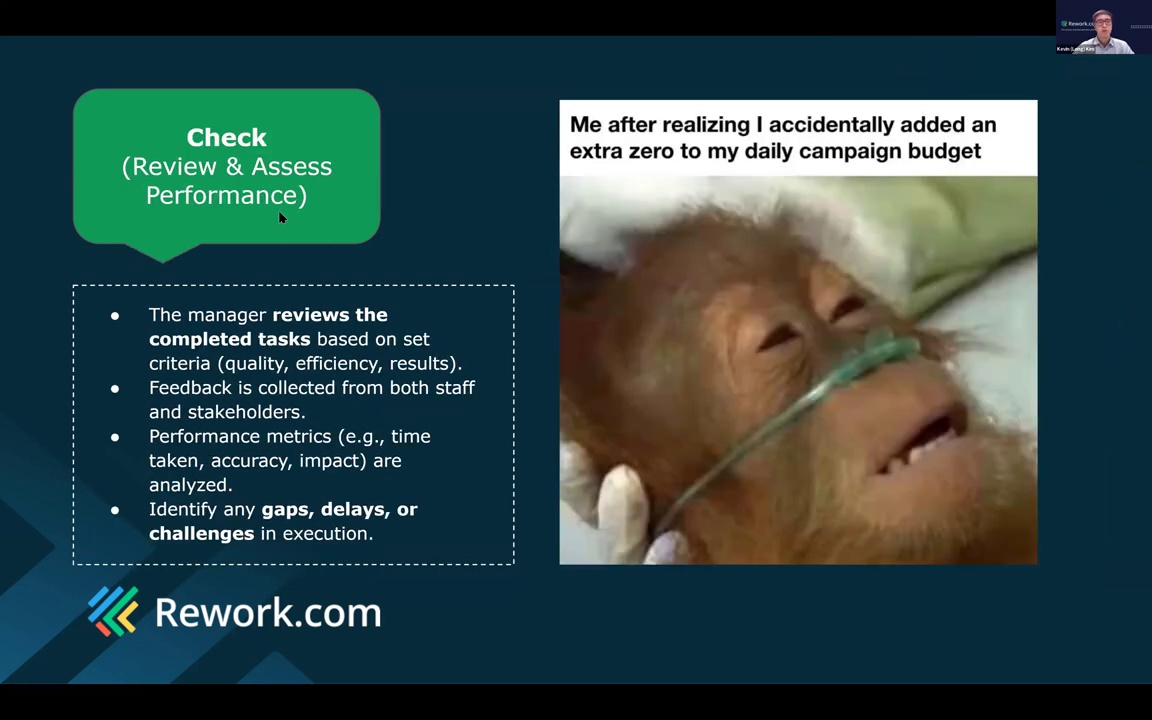
After the task is completed, we move to the Check stage.
Managers review the results based on set criteria, quality, efficiency, outcomes. Sometimes, the results may not meet expectations. In those cases, managers should give constructive feedback or suggest solutions to bring things back on track.
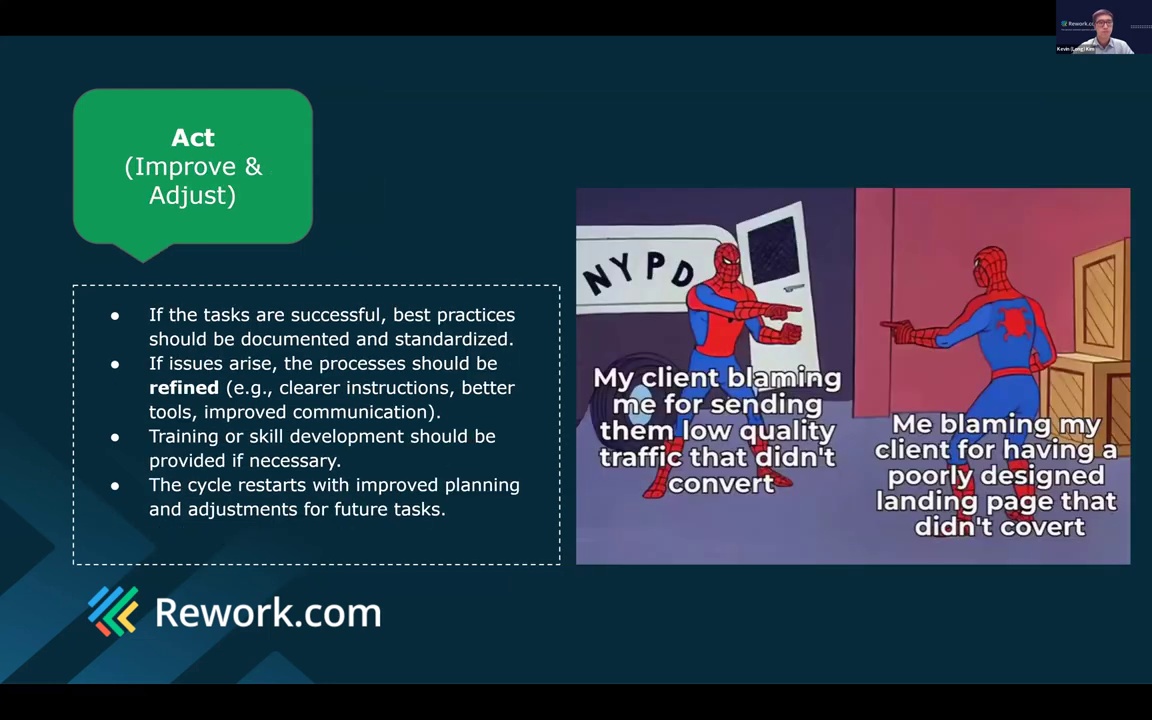
Finally, we have the Act stage.
Instead of blaming each other, the team should focus on agreed solutions. Everyone should collaborate and move forward toward completing the task together. This mindset helps build trust and keeps projects moving smoothly.
That wraps up the PDCA theory. Now let's jump into a live demo and see how we can apply this framework inside the Rework platform.
We'll feature an app called Rework Projects.
So this is the screen of Rework Projects. Rework contains many applications, but today we will focus only on one: Projects.
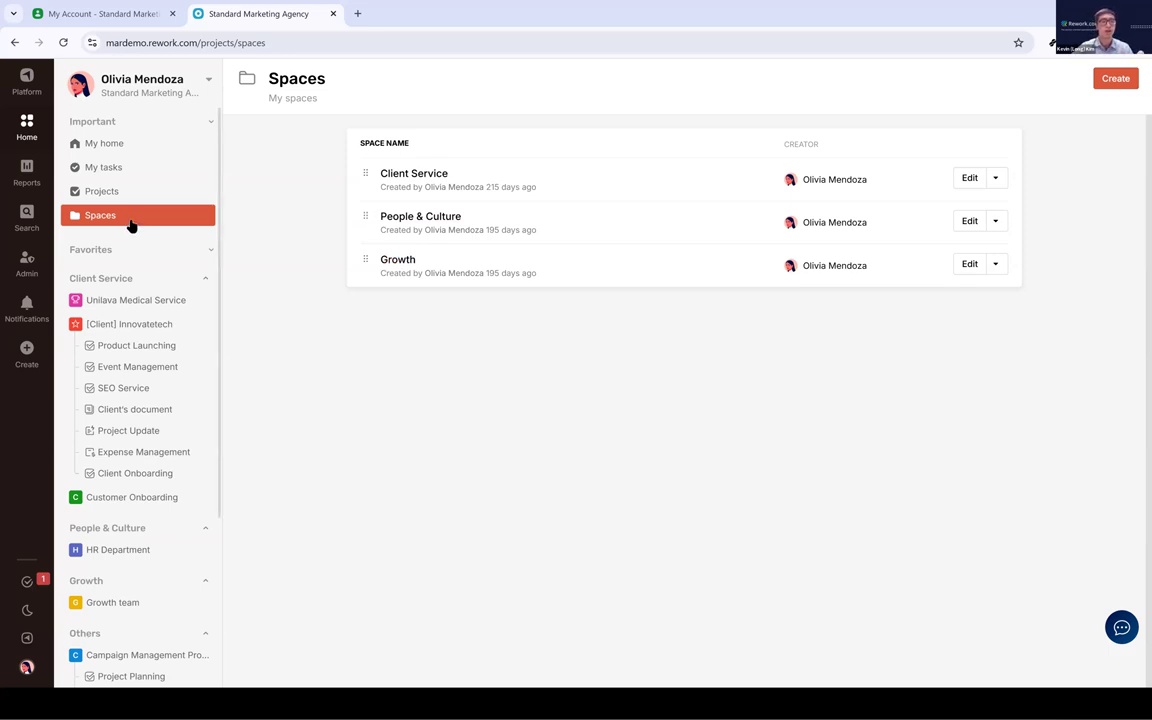
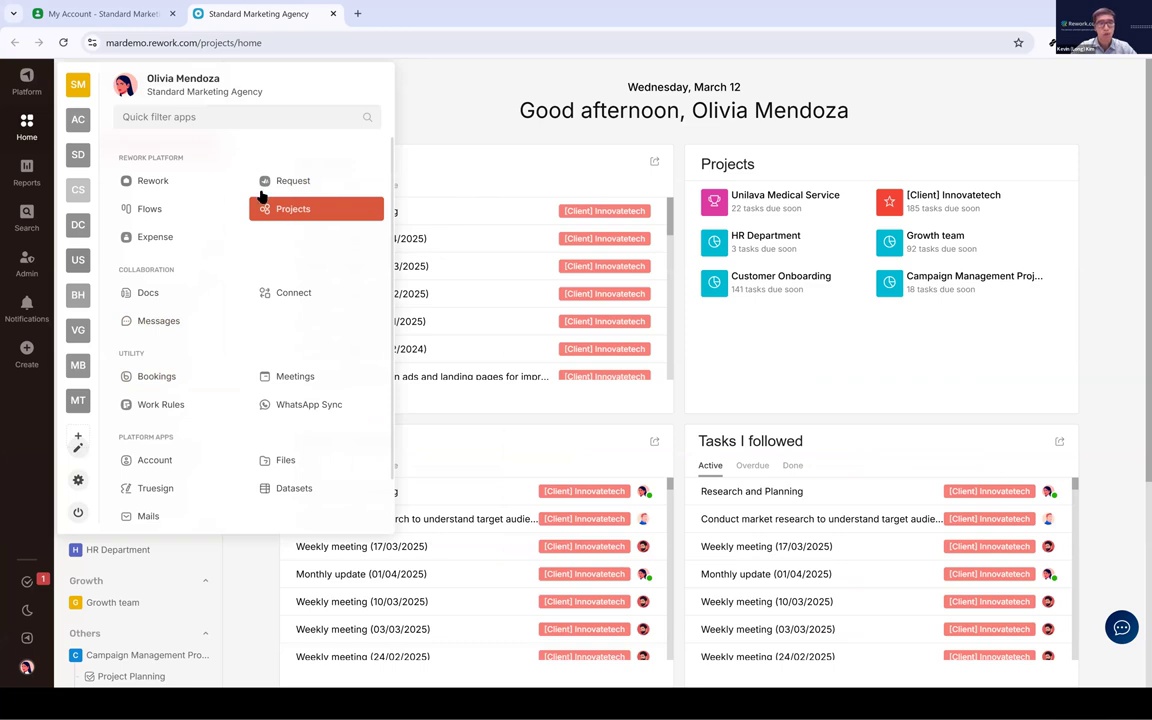
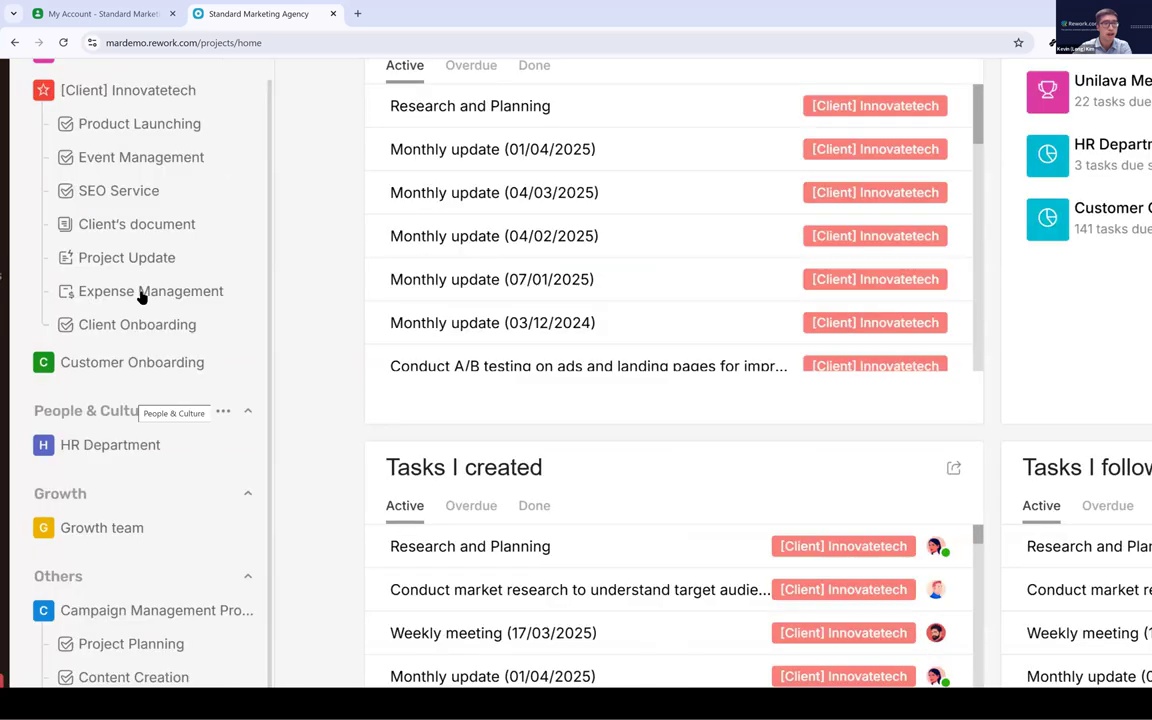
First, let me show you the structure of this application. Using this app, you can divide your workspace into different spaces. For example, here we've divided them into "Client Service," "People and Culture," and "Growth." Many of our customers organize spaces this way, based on their company structure.
Inside each space, you can create different projects. Each project belongs to a specific space.
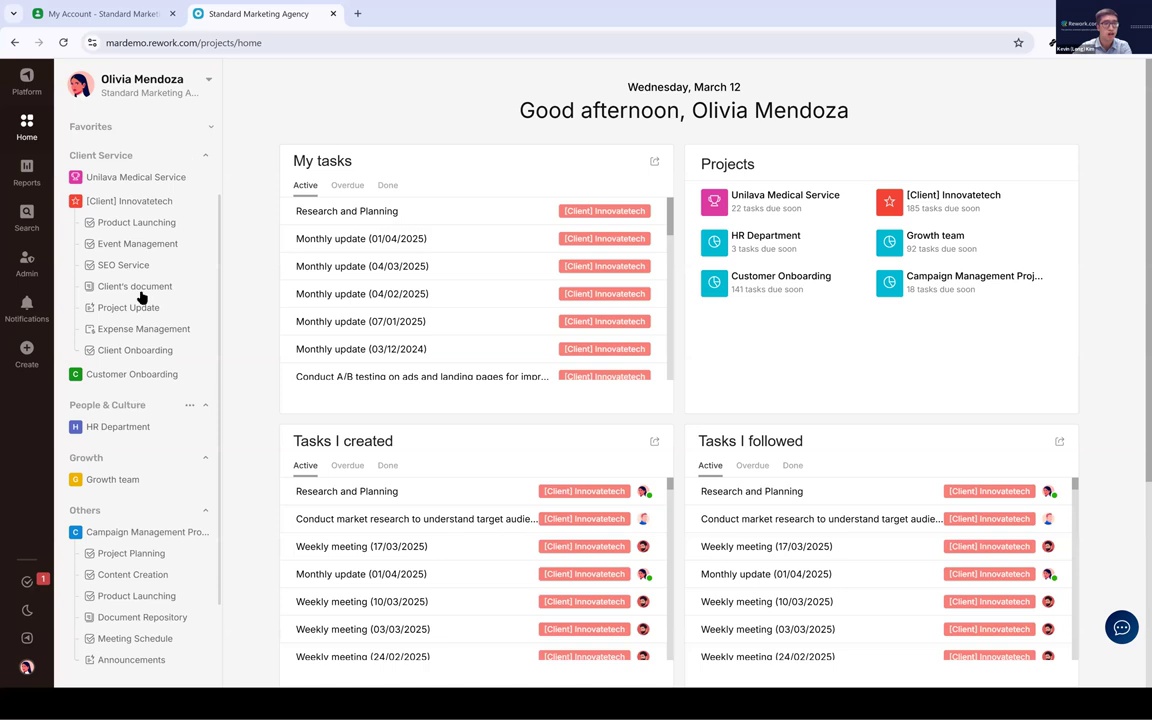
For instance, this is the account of a member named Olivia. On the left menu, Olivia can see all the projects she has access to. Under the "Client Service" space, we have a project called "Innovate Tech."
If Olivia clicks on that project, she will see multiple boards: one for product launching, one for event management, and so on.
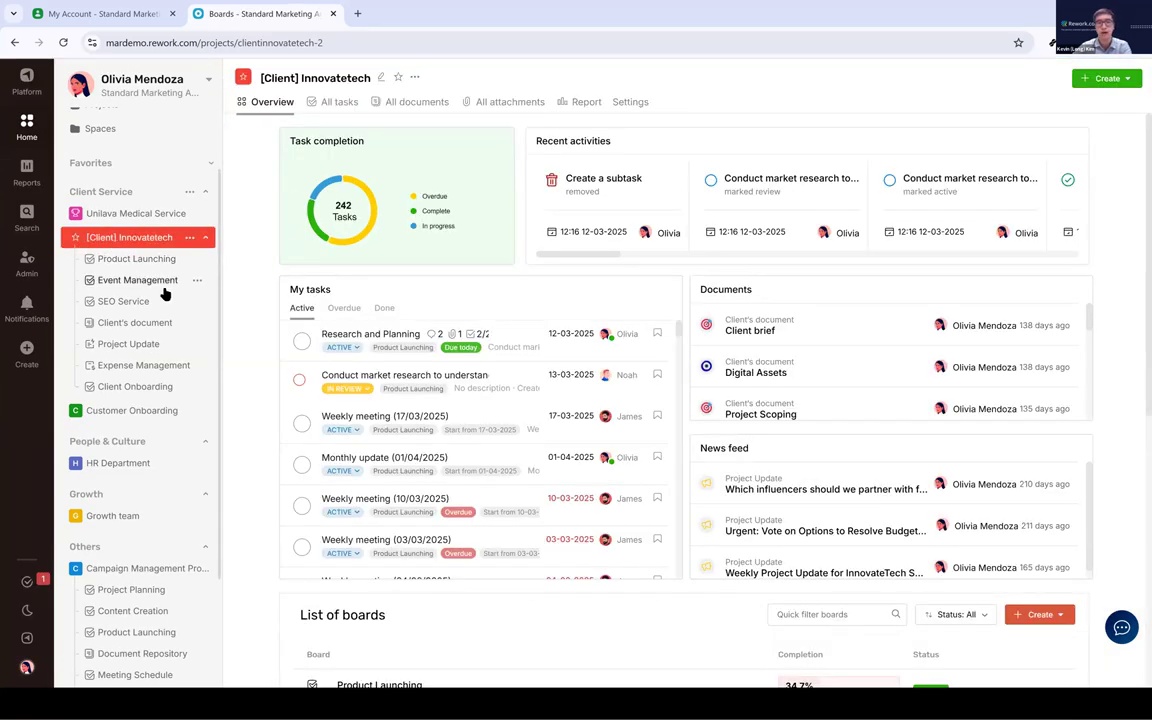
There's also an overview section, some project metrics, tasks Olivia is in charge of, documents, feeds, and the list of boards. Everything in one place.
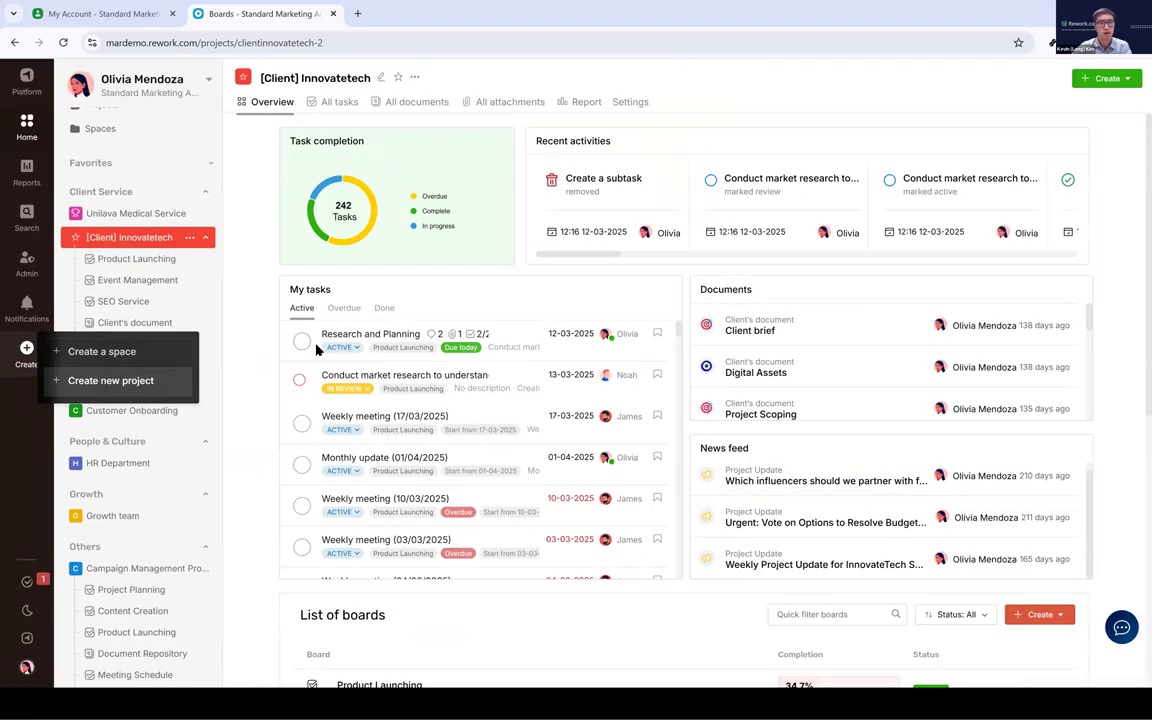
Now, if you are a project manager or a team manager, you can create a new project from this app.
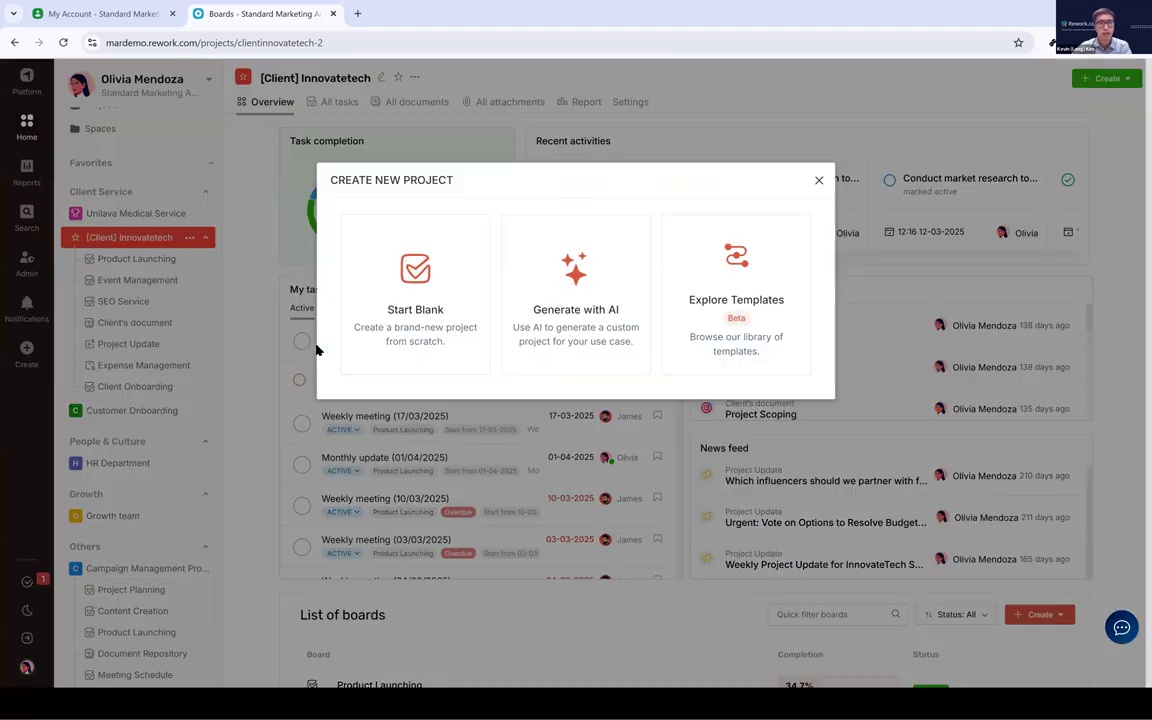
There are multiple options. You can start from blank, generate one with AI, or explore from our templates. Once created, your project will include different boards.
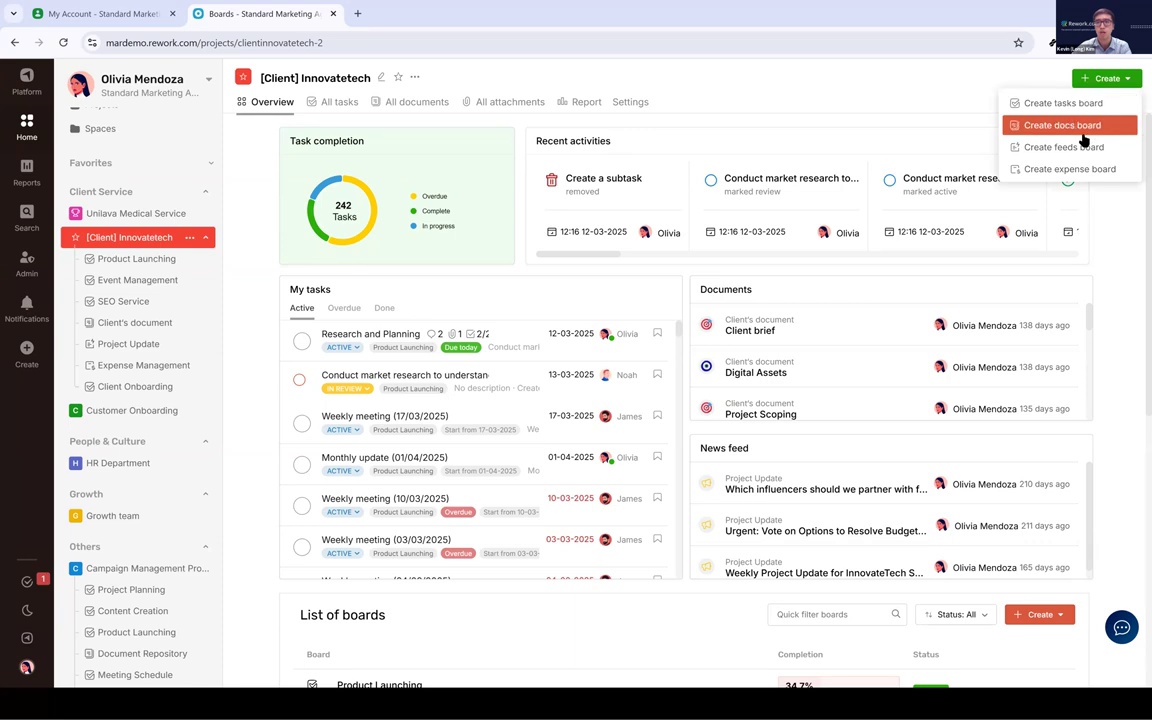
You can create task boards, docs boards, feeds boards, or even expense boards.
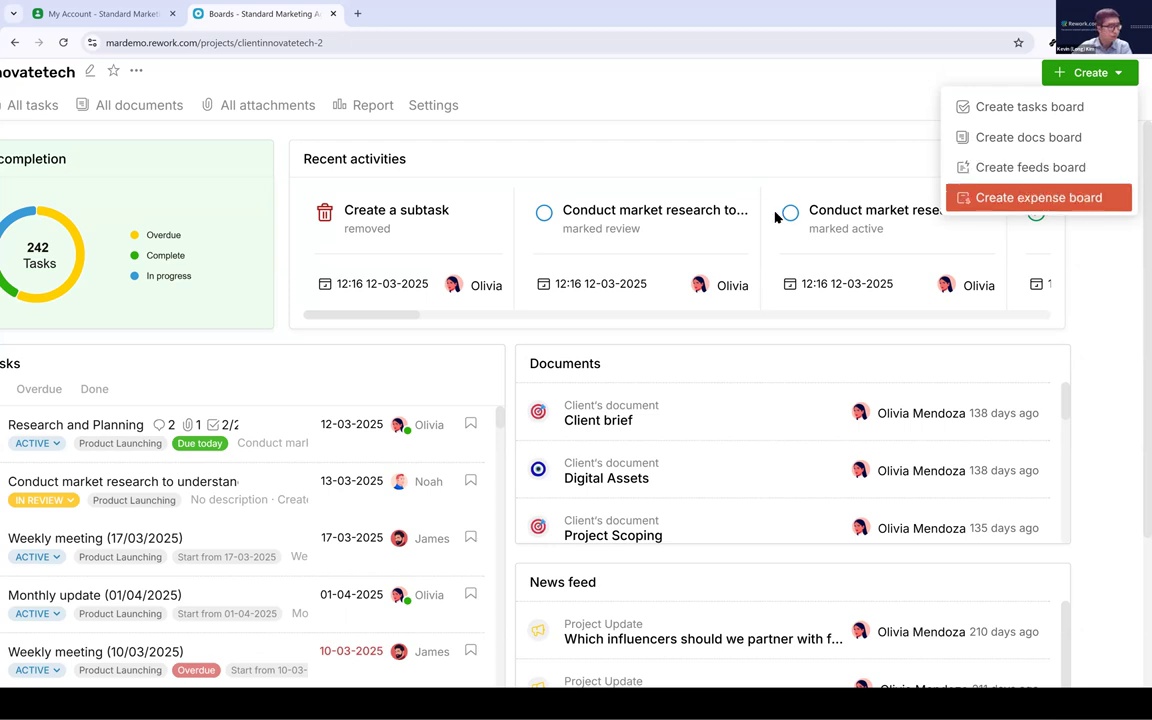
For example:
- Task Board: like the one for "Product Launching"
- Docs Board: like "Client Documents," to store internal files
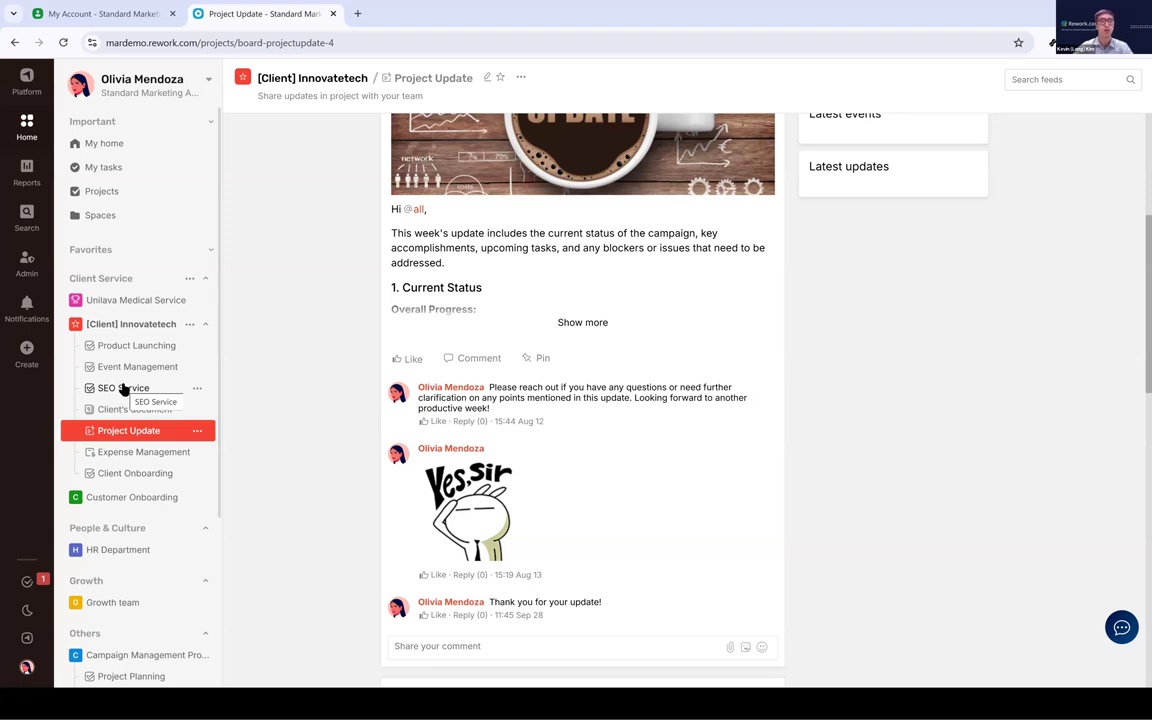
- Feed Board: for team announcements and updates

Today, we'll focus only on the Task Board.
Let's use the Product Launching board as our working example.
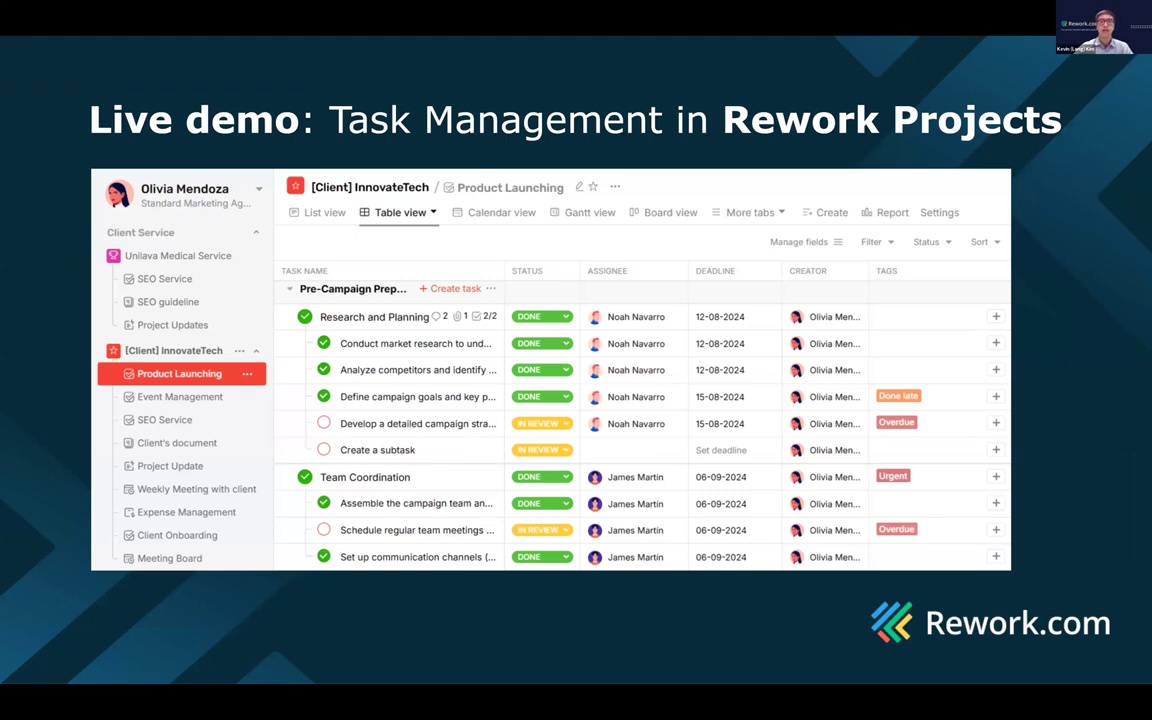
When you create a new board, the first thing to do is Plan all your tasks. In this board, we've already created task lists like "Pre-campaign Preparation" and "Campaign Launch."

Under each task list, there are multiple tasks, such as "Research and Planning" or "Team Coordination."
And inside each task, you can even create sub-tasks. This helps break down work clearly and assign responsibility step by step.
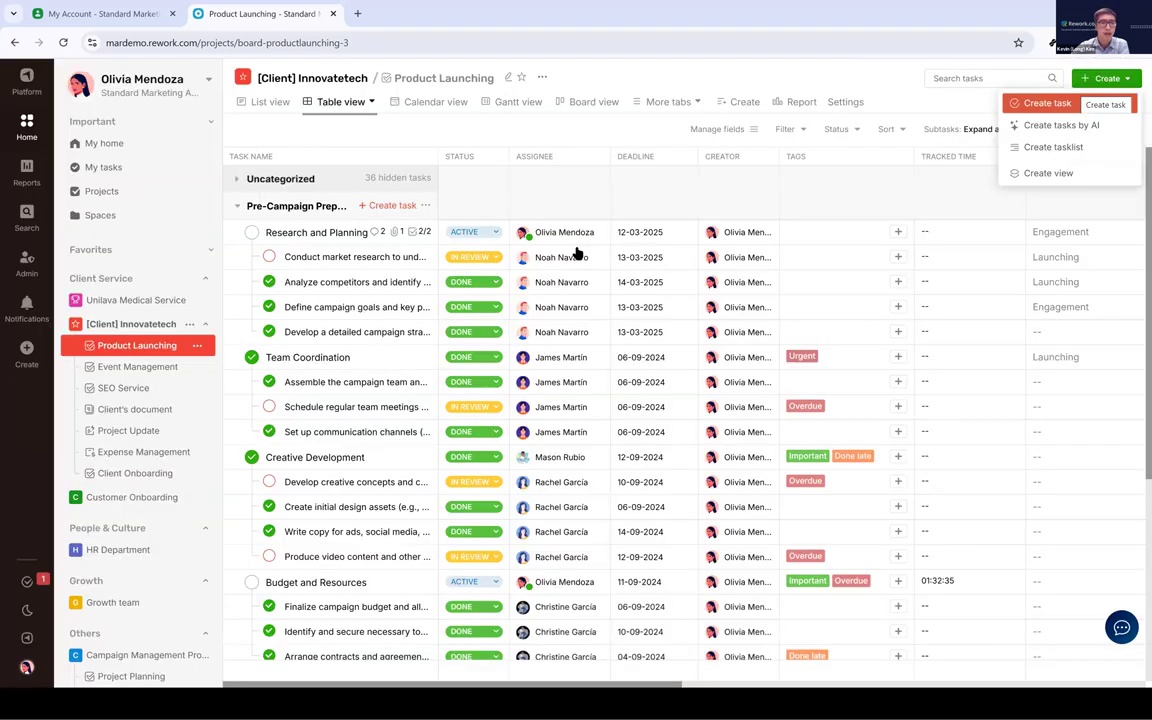
To plan your project, simply click the Create button. You can:
- Create task lists
- Add tasks to each list
- Assign a responsible person for each task
- Set deadlines
This ensures the team knows what to do, by when, and who owns what.
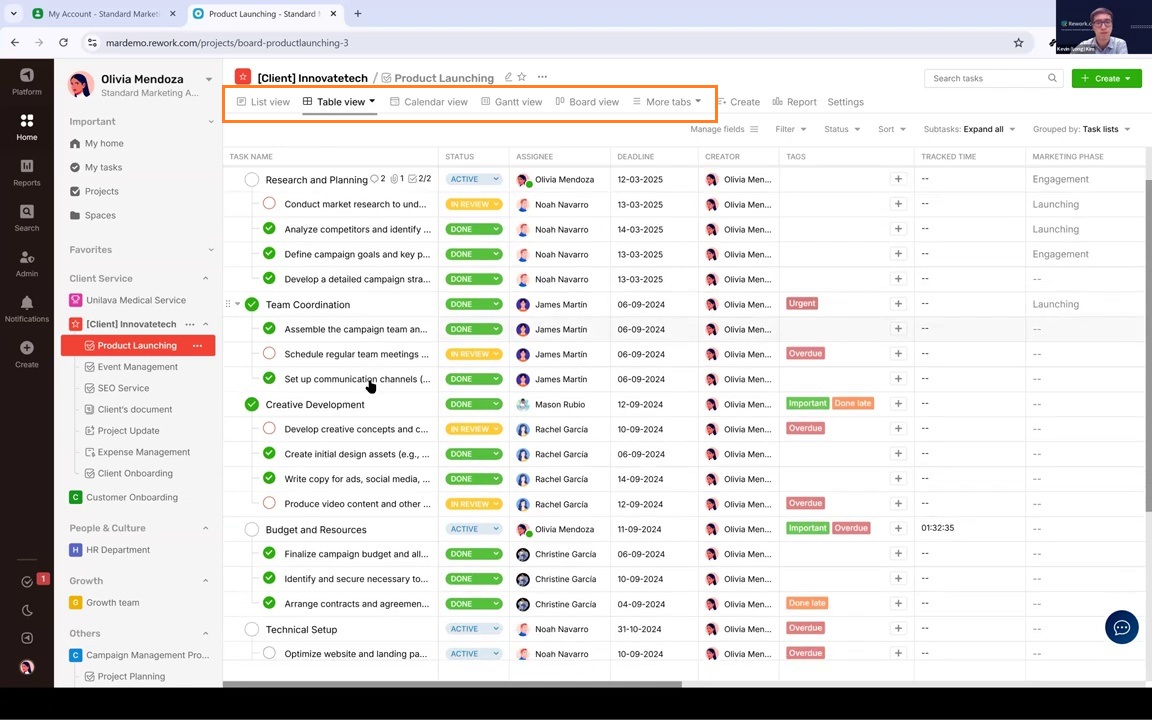
One more thing in the planning stage is the view.
After creating your tasks and assigning deadlines, you might want to change how tasks are displayed.
By default, the board opens in Table View, which looks like a spreadsheet.
But we also offer different views to match your style:
- List View: like a to-do list
- Calendar View: like a calendar to visualize deadlines
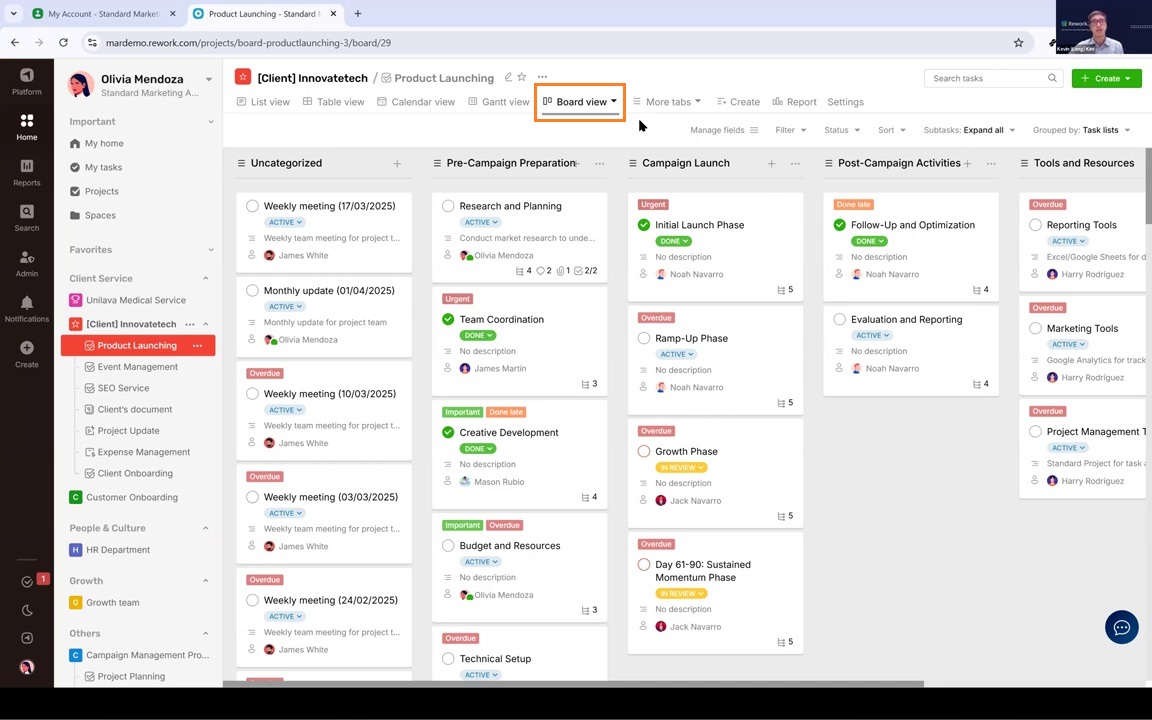
- Or the Gantt View. The Board View.
So, each view will offer you a different way of seeing and managing the task.
I recommend you try creating multiple views and explore which one works best for your needs.
So, that’s all about the planning stage. Just remember to structure your workspace, from creating the space, the project, the board, the task list, the views, and then you create the task and assign to the right person.

Okay. The next step is the Doing stage.
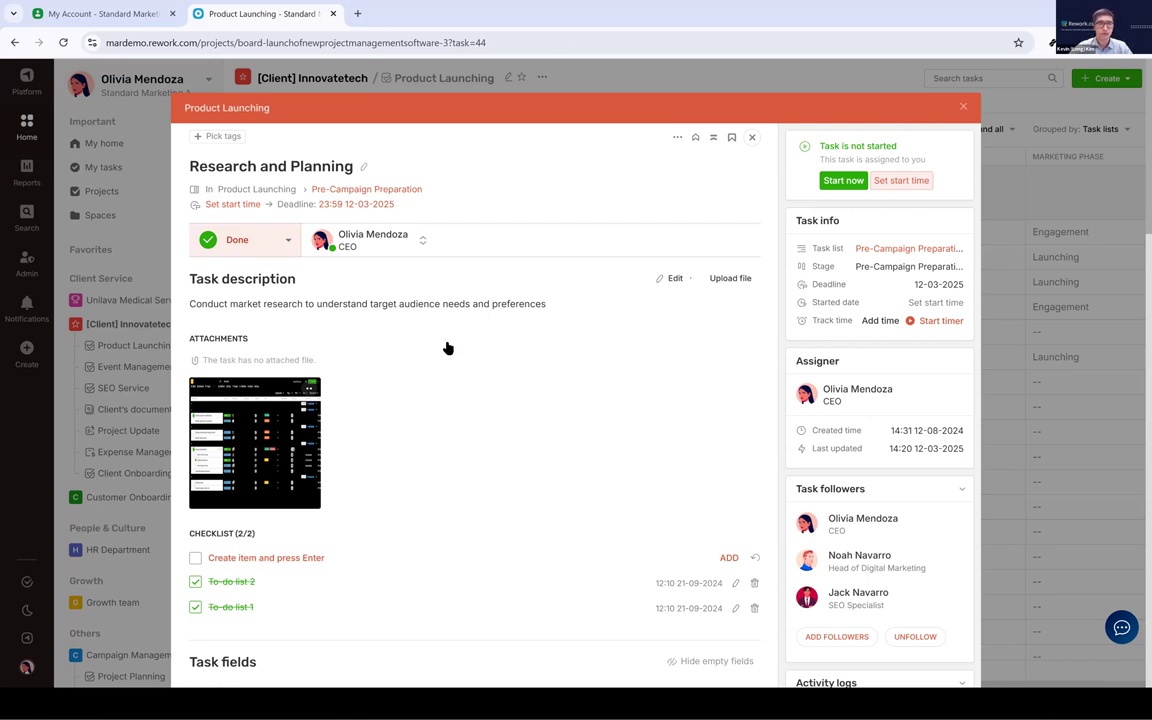
I already created a task, which is “Research and Planning”, and I assign to Olivia, right?
And in here, I already included all the task description and the attachment so that Olivia can know what she will need to do. And also, I set the deadline for her.
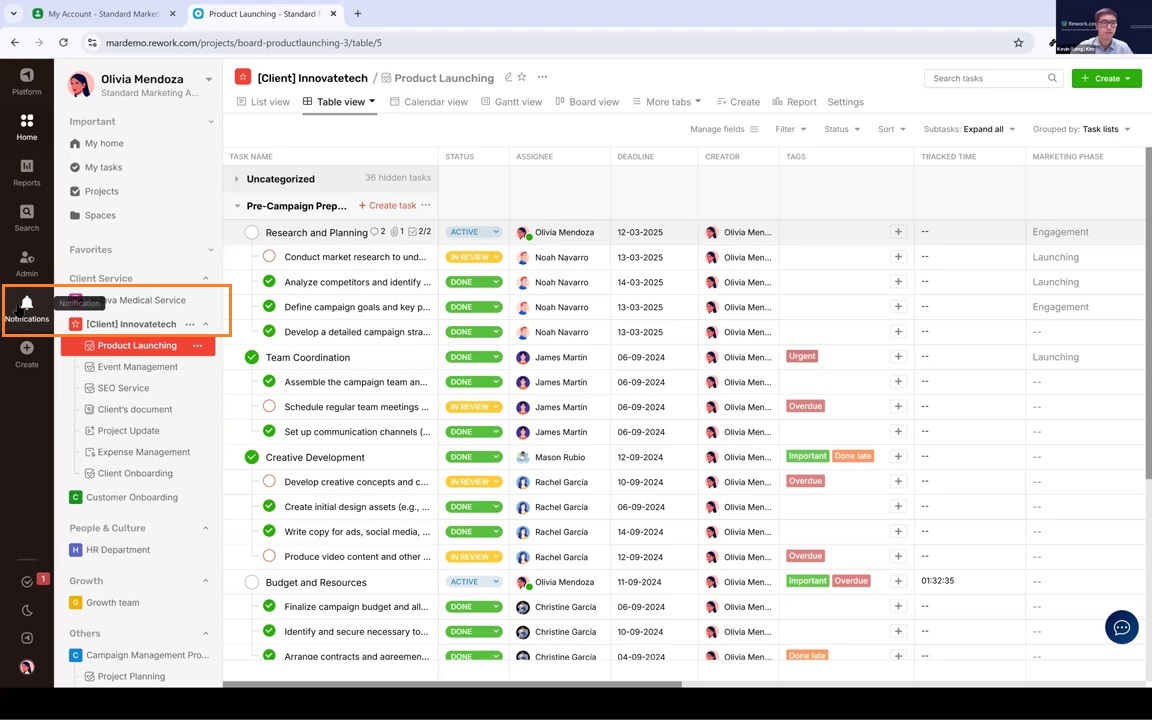
So, in the second stage doing.Firstly, she will receive the notification from here.
She will receive the notification, and she can click on a particular notification to view the detail page of this task.
Or the second way: at the start of the day, she can check her reminder.
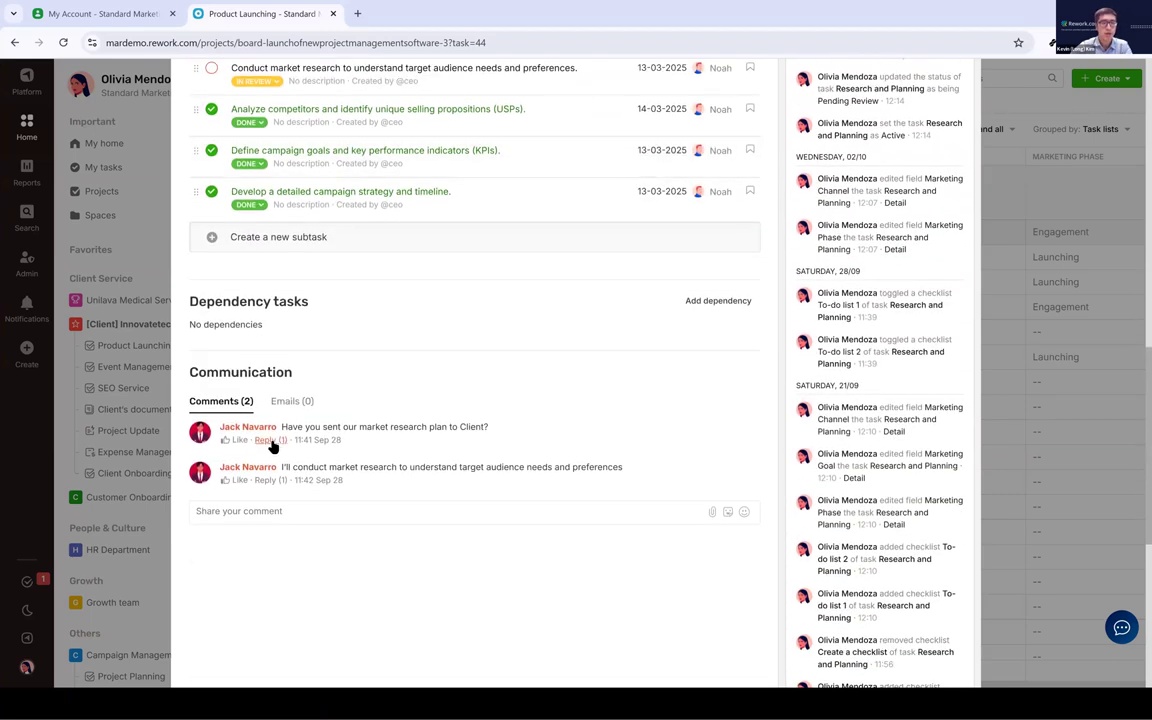
Then, the next thing Olivia can do is communicate. Because sometimes she may need to collaborate with other members.
So, she can also create sub-tasks, assign them to other members, and discuss right in here.
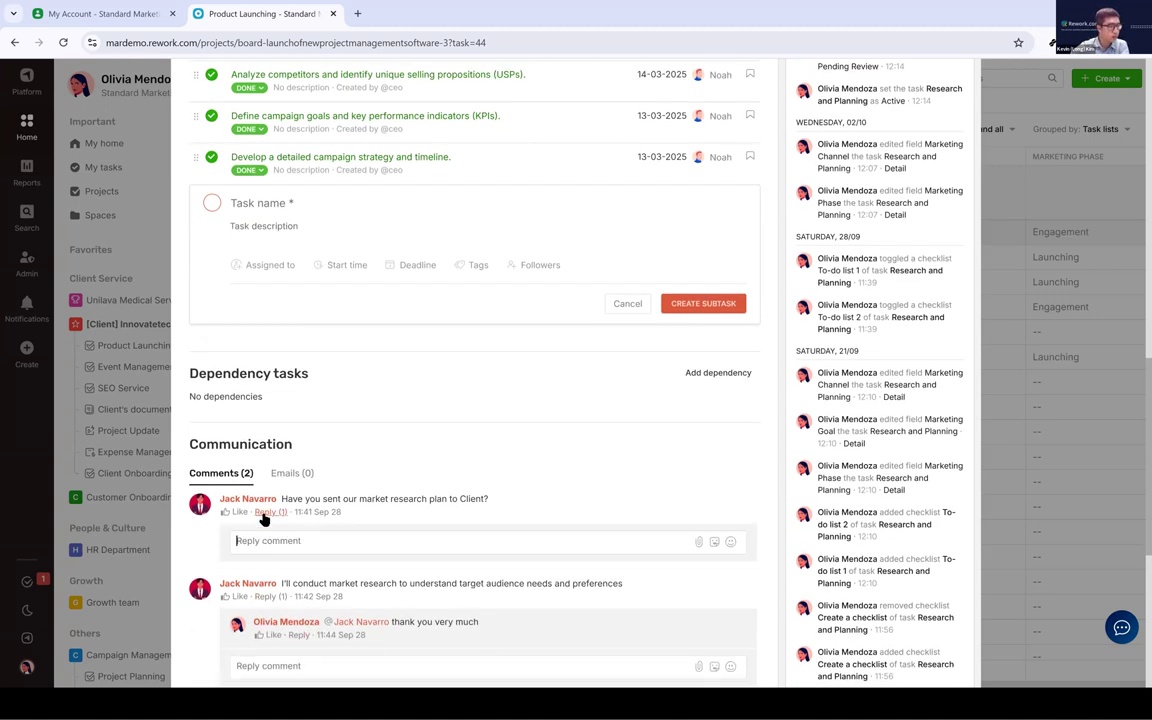
She can mention others and send messages to them.
This is how the team can communicate within a specific task.
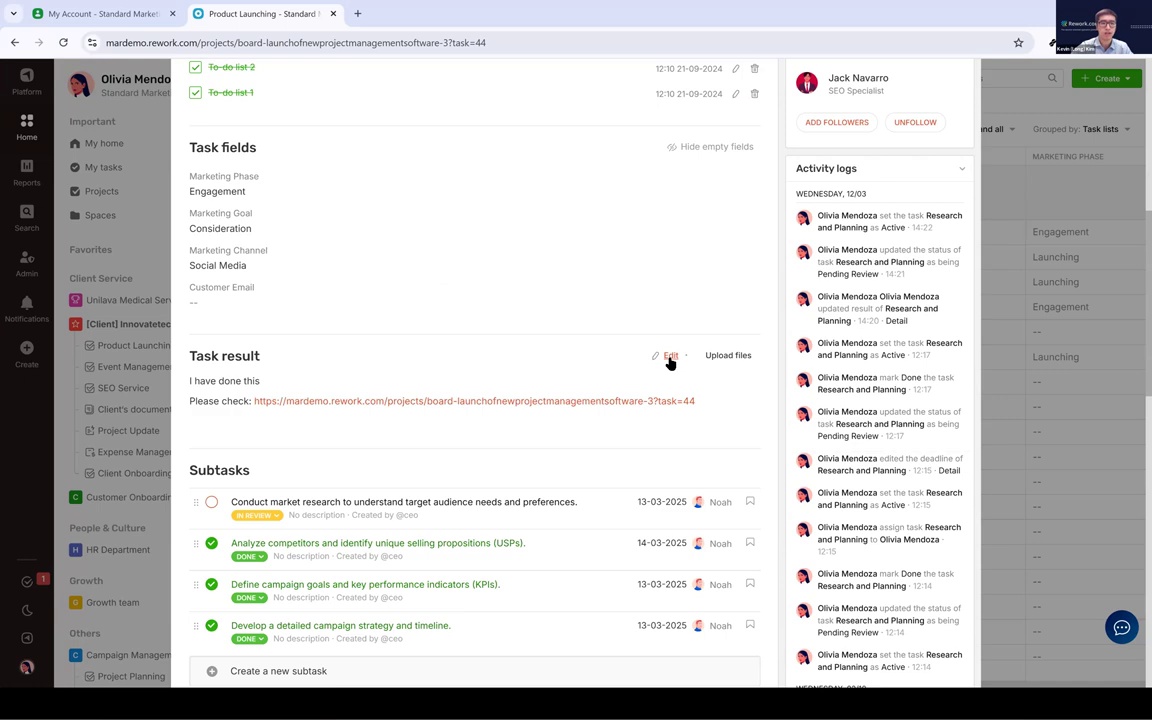
When Olivia has completed this task, she can update the task result in here.
For example, she can say something like, “I have done this, please check,” and paste the link to the file, or upload the file right in here. And then click save.
She might type "I have done this, please check," include a link to her file, or upload the file directly.
When saving or updating the task, the assigner and followers will be notified.

And finally, Olivia will check on this box to turn the status from Active to Pending Review.
Now begins the Check stage.
The assigner (in this case, also Olivia) gets notified and clicks to view the task. They check the result and provide comments. If it's good, the task is marked Done. If not, it's reverted to Active with feedback like "Please adjust...".
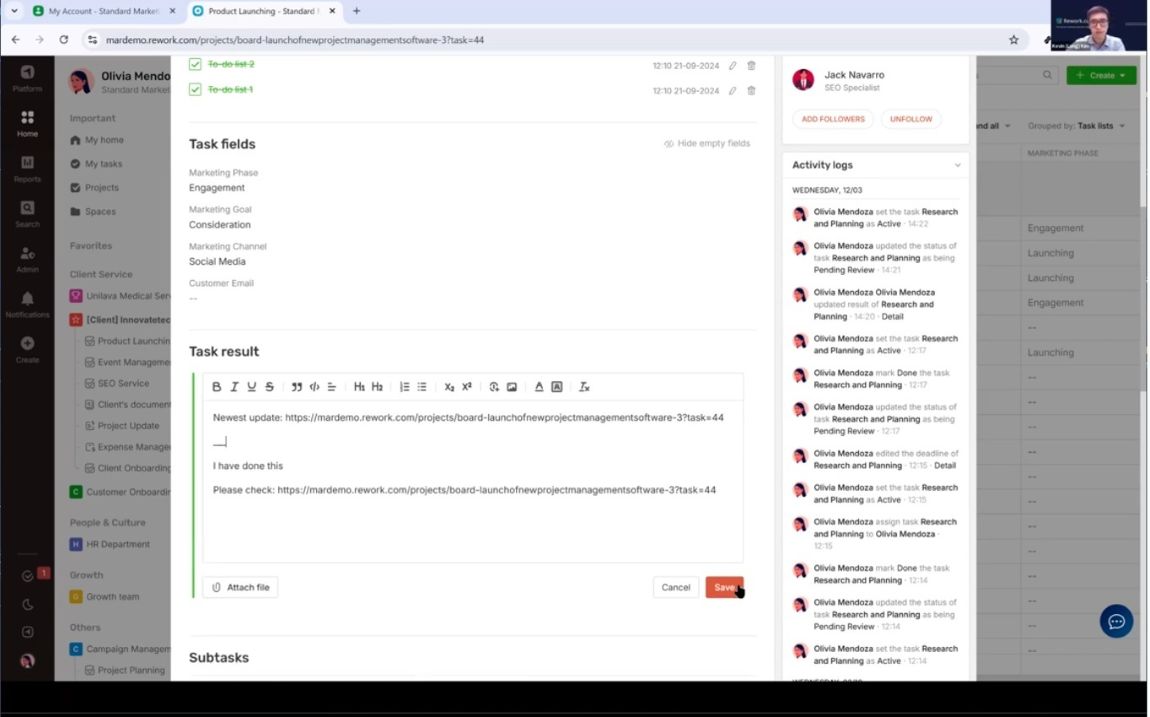
Then Olivia will come here and update the task again.
Maybe this time she will enter something like, “Newest update,” and maybe add another link.

And then again, check the box Pending Review.
If everything is finally okay, the assigner marks the task Done, and the Act stage concludes. The loop is complete.
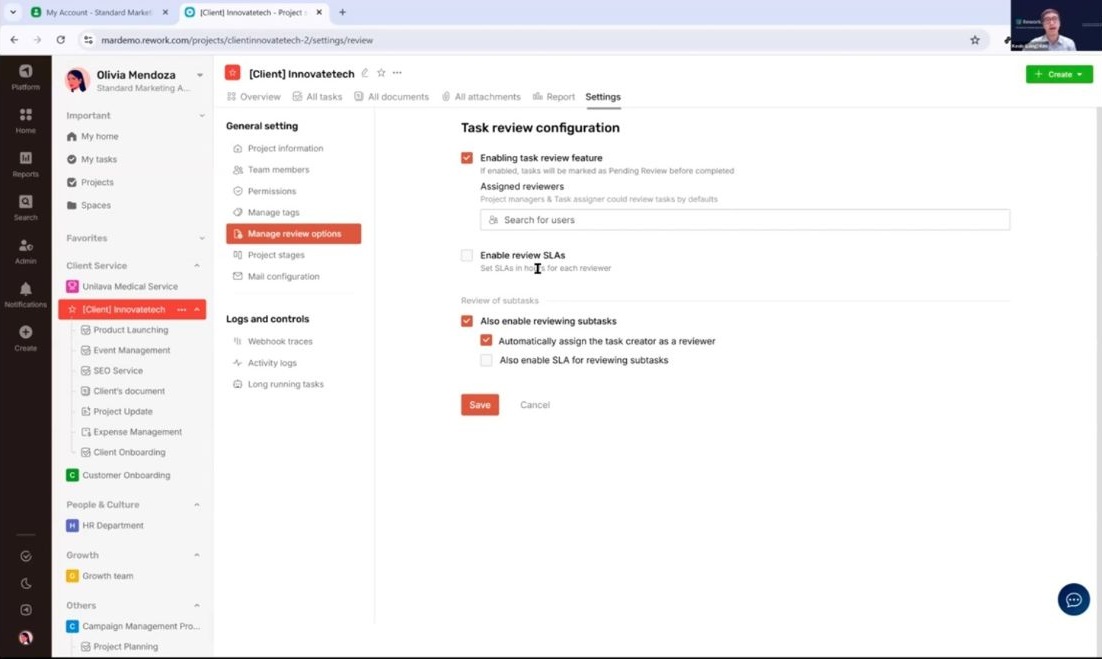
Some of our customers may wonder how they can turn on this review feature.
To turn this on: go to Project Settings → Manage Review Option and enable it.
Let's wrap up the live demo with some key takeaways.
After today's webinar, we'll send you the slides and recording so you can review. Here are some reminders on applying the PDCA framework in task management:
It starts from Plan, then work on the system, then update the task progress in real time.
Then we review, provide structured feedback, and monitor performance.
Finally, we implement improvements, adjust the processes, and optimize the workflows based on the insights that we got after doing the work.
Some tips:
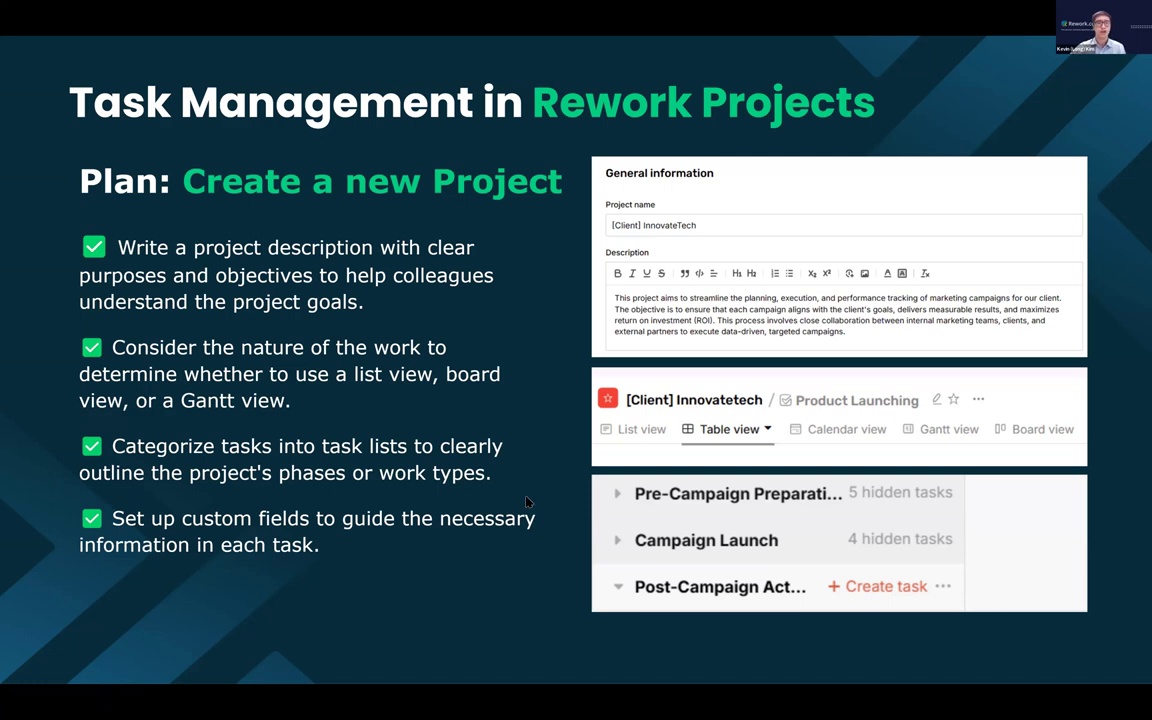
Firstly, when creating a new project, you can write a name and add a description so your team understands what this project is for.
You should consider the nature of the work and how you want to manage tasks.So you can choose a suitable kind of view in the system.
Also, categorize the tasks into different task lists to clearly align with project phases or work types.
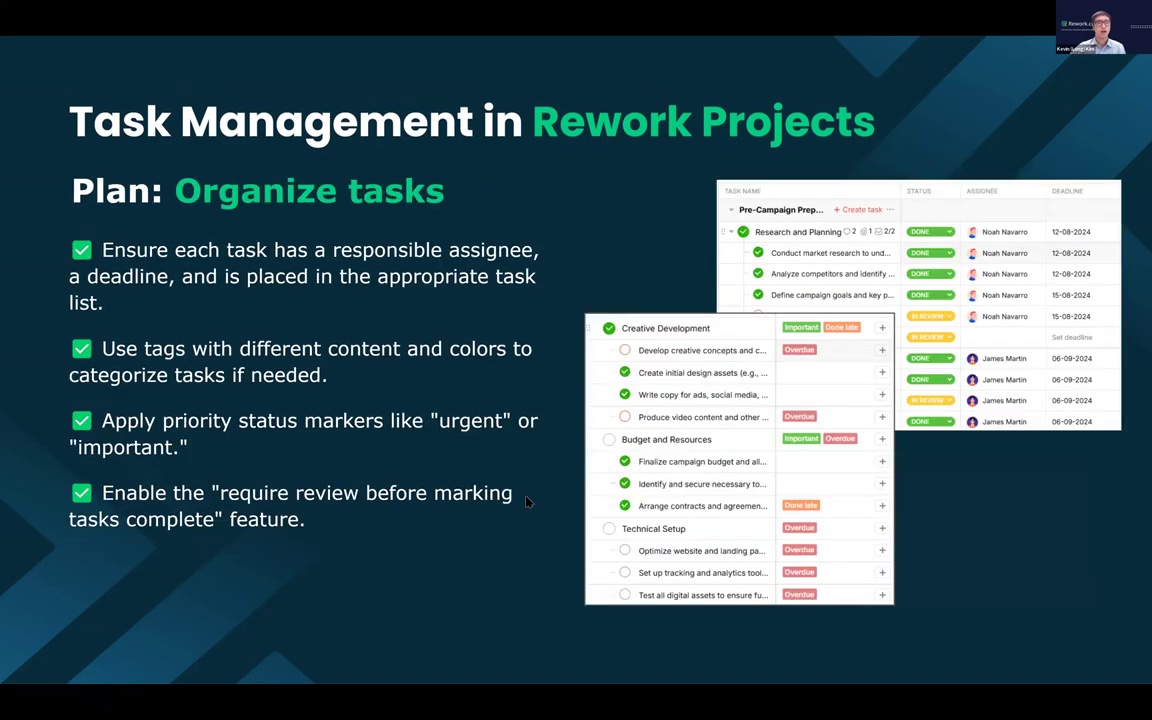
Make sure each task has:
We recommend you ensure each task has a responsible assignee and a clear deadline, and that it's placed in the appropriate task list.
You can use some priority or label features to differentiate by color or name.
Also use priority markers in the system like Important or Urgent.
And, as I guided earlier, you can enable the "Require Review Before Marking Task Complete" feature so you can always review tasks after your team finishes.
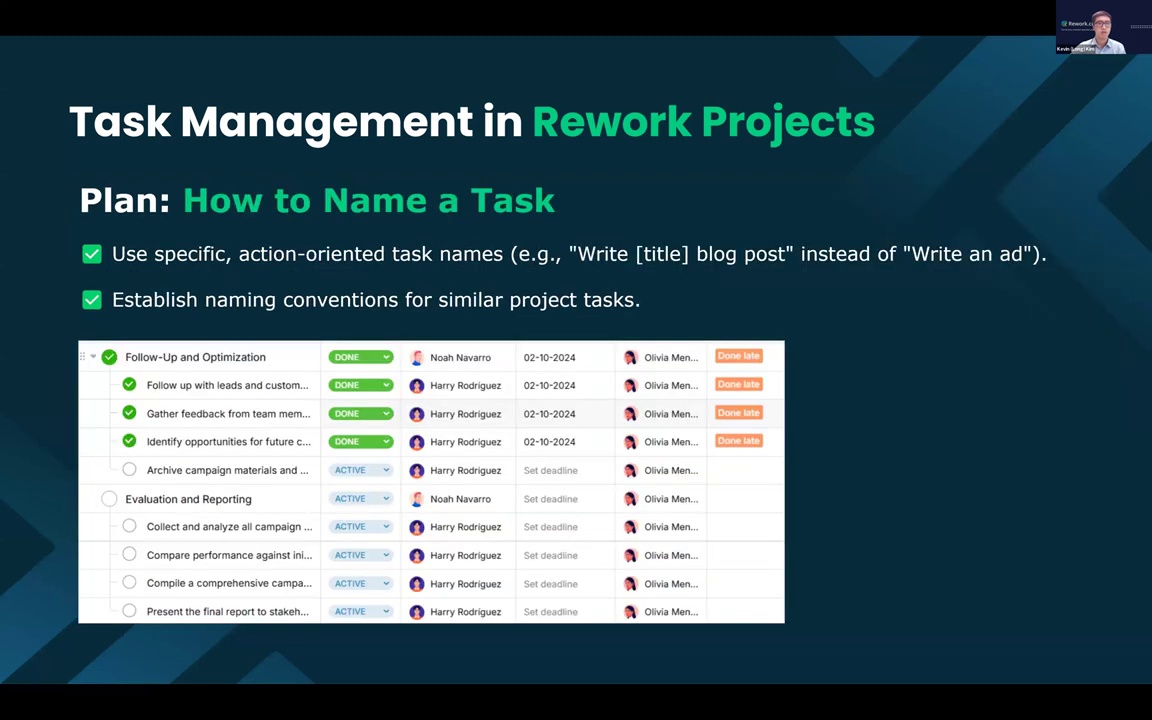
How to name a task?
This one is interesting. Many Rework Projects users name tasks in a way that may be hard for their team to complete.
Our tip is: name the task specifically and make it action-oriented. For example, “Write a blog post about customer onboarding” instead of just “Write”.
It should be an action, something concrete, so that the assignee can complete it more easily.
Maybe you can also establish naming conventions across similar project tasks.
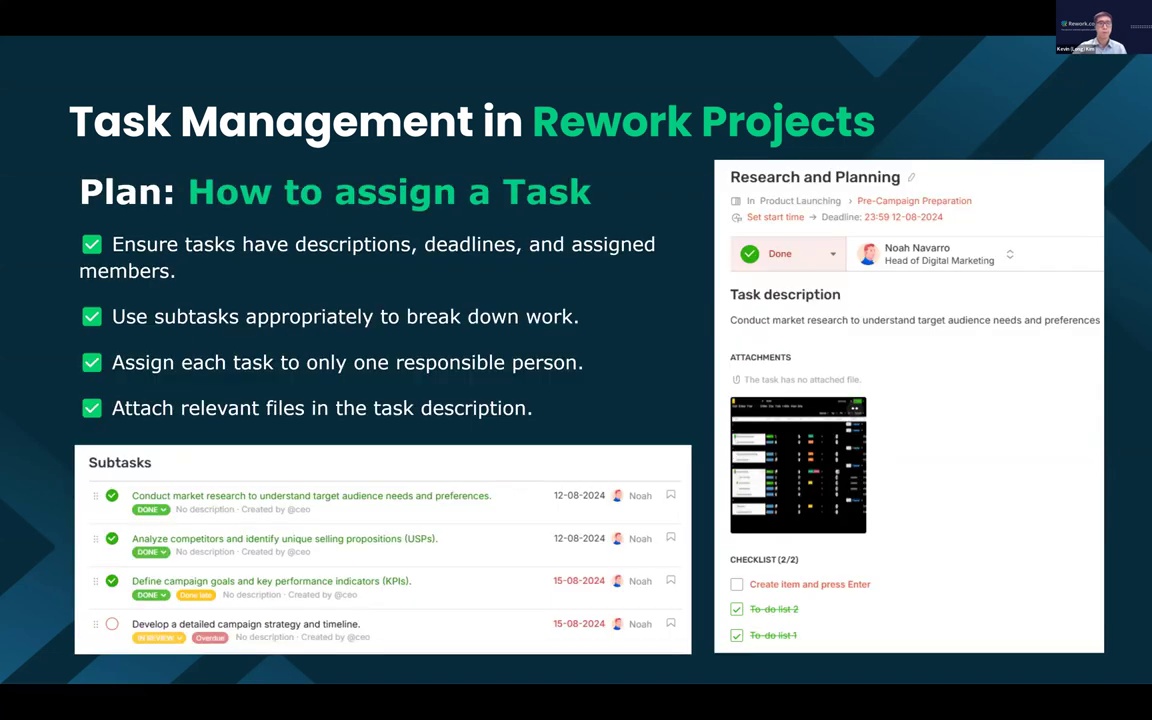
And when assigning, you can create sub-tasks to break down the work and track progress more easily.
Completing small tasks is easier than completing big ones.
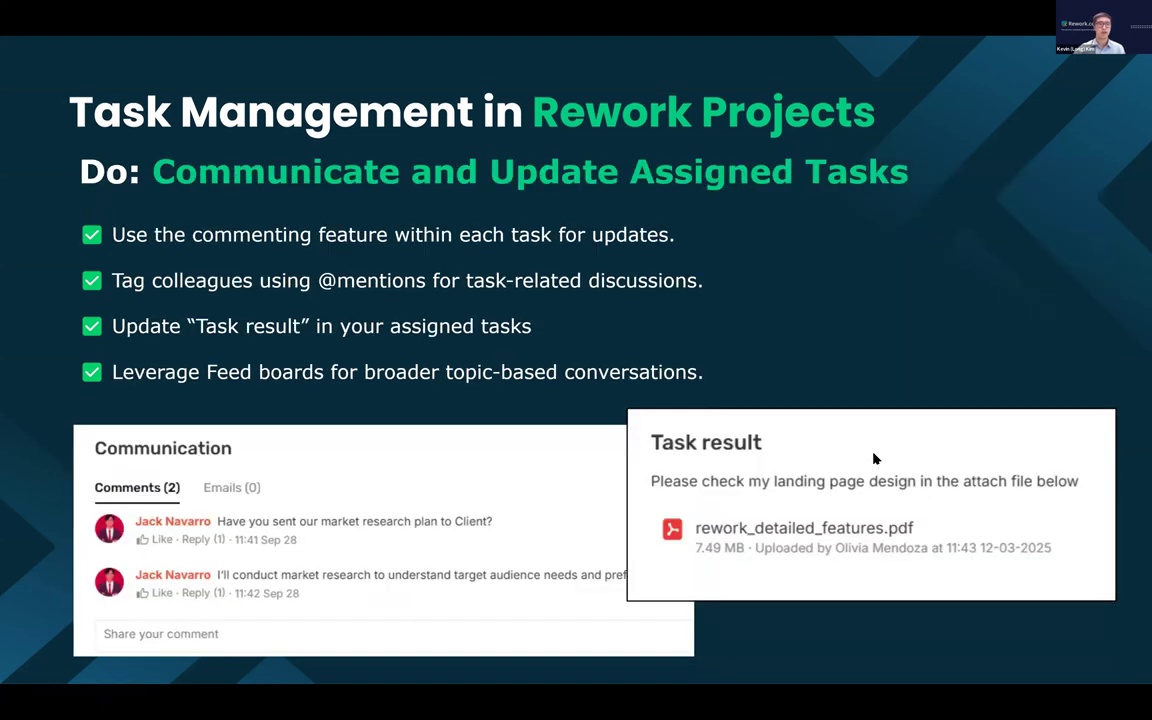
You can also attach files, comment, Mentions teammates, and upload results directly to the task.
You can use the Feed Boards for broader topics, like in our company, every Monday we post a weekly report in the feed so everyone is on the same page.
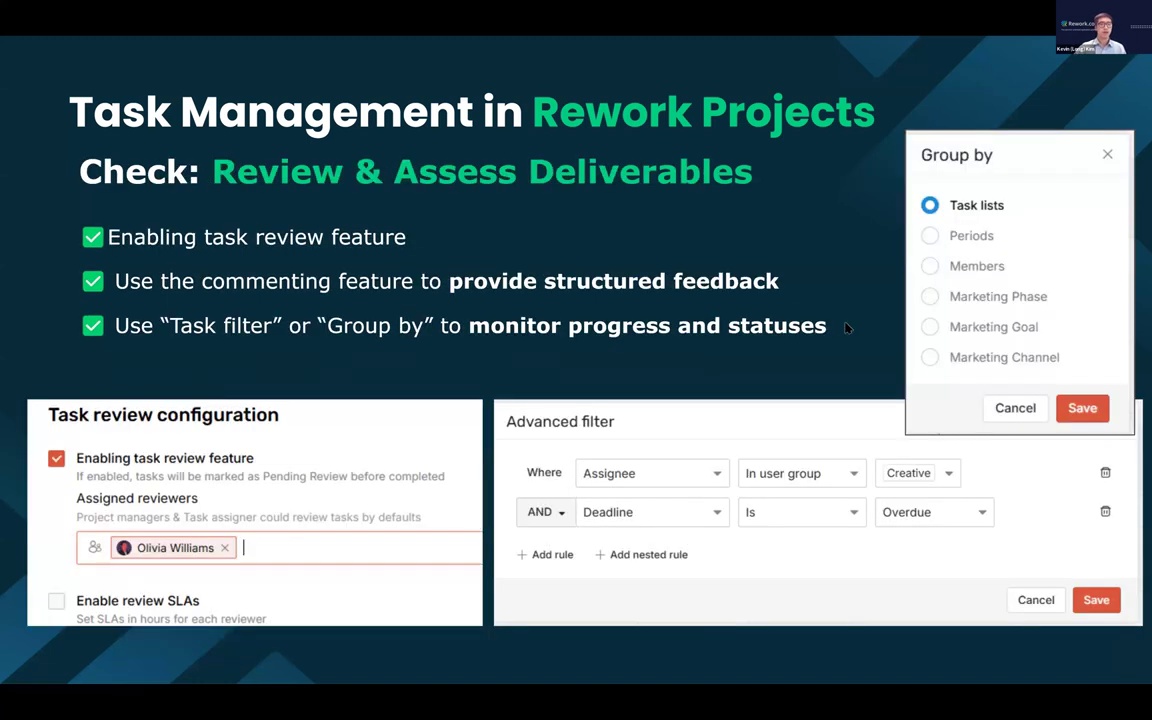
If you're reviewing, don’t forget to enable Task Review, use comments for feedback, and apply filters-like showing all overdue tasks for a team.
This helps you hold meetings and resolve issues before they grow.
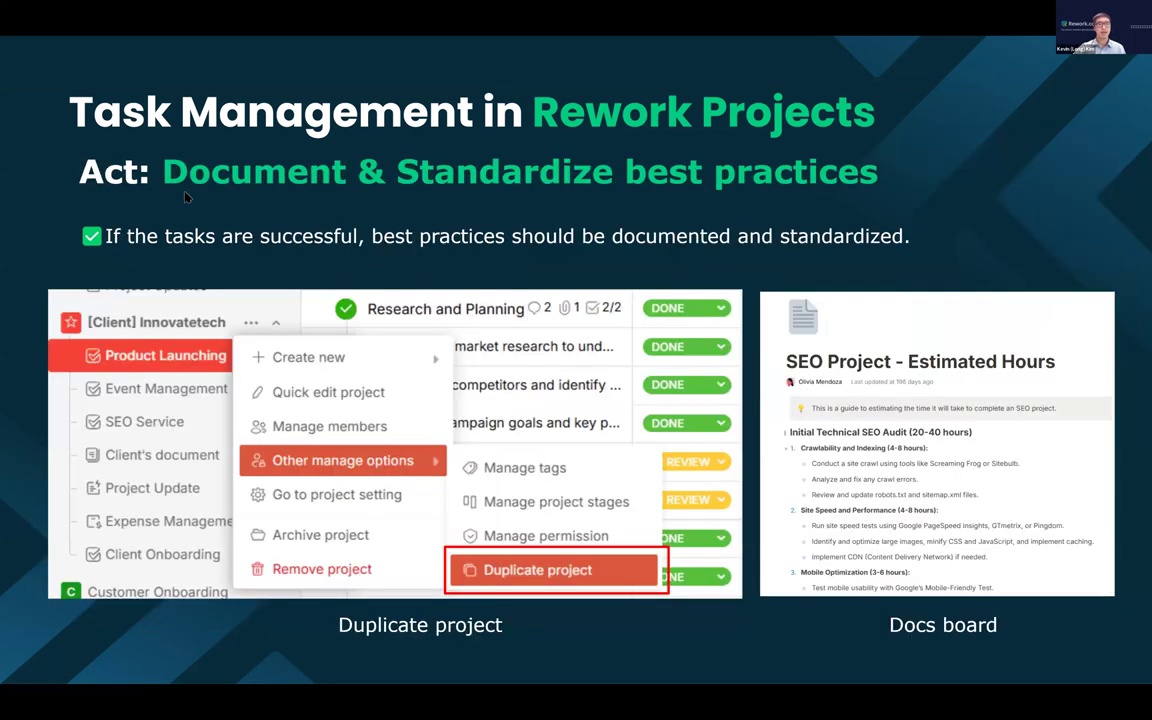
In the Act stage, focus on documenting and standardizing best practices.
To document and standardize best practices, use features like Duplicate Project or Duplicate Board.
You can also use the Docs Board to store everything in one place, so everyone in the team can access it later.

If you still have questions about PDCA or Rework Projects, check our YouTube channel. We have 8 videos walking through everything.
Or, you can book a consultation with our team.
If you’re already a customer, just reach out. We’re happy to help.